How do I choose the right setting for me?
How do I choose the right setting for me?
If you bought the Supply Pro because you wanted more customization, you made the right choice. But choosing the right setting for you is a key step in getting the best shave.
Here’s how you can dial in your Pro shave from the first pass.

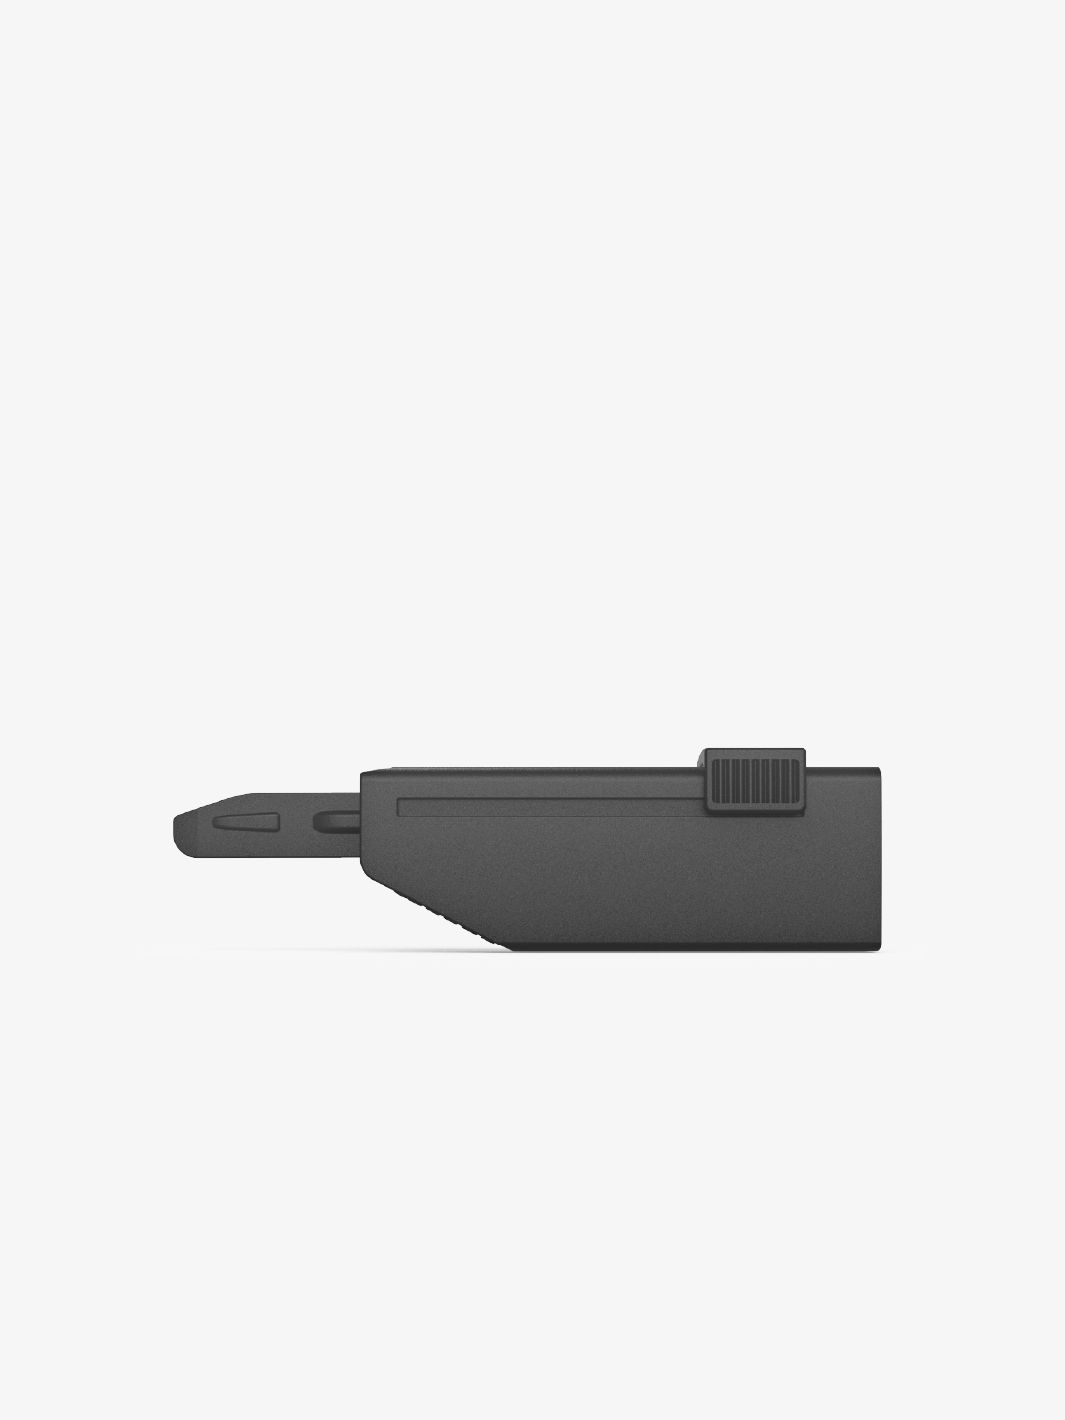
The Dial
The Dial on the Pro moves the safety bar up and down, increasing or decreasing the blade exposure. Blade exposure is the space between the safety bar and the blade.
The more exposed the blade is, the more aggressive the shave will be. More blade exposure means the blade comes in closer contact with your skin, allowing more hair to reach the blade at one time. Less blade exposure means the blade doesn’t make as much contact with your skin, leading to a milder shave.
The numbers on the dial represent blade exposure. 1 is the least amount of blade exposure or mildest shave, while the 6 setting is the most exposure and aggressive setting.
Fun Fact: There is only .7mm of space between the 1 setting and 6 setting. This means changing from the 1 setting to the 2 setting will only move the blade .11mm and so on for each setting up the dial. This is a tiny amount of adjustment that makes a huge amount of difference in the feel and closeness of your shave.

How do you know which setting to use?
The settings are marked 1-6.
• 1 is the most mild setting.
• 6 is the most aggressive.
There are 6 total main settings and 28 micro-settings in between 1 and 6.
Our general recommendation is to start with the 1 setting, especially if you have sensitive skin or it’s your first time with a safety razor. It’s the most forgiving, but it will still give you a close shave. If it’s too mild for you, you can always move up.
If the 1 setting doesn’t shave as close as you want bump up to the 2 or 3 setting and keep adjusting from there. The best part is you can use multiple settings while you shave. The milder settings (1-2) are great for more sensitive or hard-to-navigate areas (under the nose, the jawline, etc.). The more aggressive settings (4-6) will give you a smooth shave on the first pass on places like your cheeks and down your neck.
Plus, adjusting your setting is as easy as moving your thumb up and down. So, switching mid-shave is no problem.
If you're coming from the Single Edge 2.0:
The range of adjustment on the Pro is designed to roughly mimic the range of adjustment on the 2.0. The difference is, it gets a bit more mild on the low end and a bit more aggressive on the high end.
The 1 setting is milder than the “mild” setting of the 2.0.
The 6 setting is more aggressive than the “aggressive” setting of the 2.0.
If you liked the 1-dot sensitive setting, use the 1 on our PRO. For our 2-dot comfortable setting, you’ll find the 3 comparable. And for our ultra close 3-dot setting, you'll be able to dial in the aggressiveness between our 4 and 6 settings on the Pro.
Many of our shavers who have switched from the 2.0 to the Pro are saying that it gives a much closer shave.