

Changing your Microsoft profile picture or local Windows profile picture is a straightforward process that allows you to personalize your Windows experience. This tutorial will guide you through the steps to update your profile picture on both Windows 10 and Windows 11, whether you are using a local account or a Microsoft account. We also show the direct way to change your Microsoft profile picture without using Windows 11 or Windows 10.
How to Change the Local Account Picture on Windows 11
This method allows you to personalize your local user account on Windows 11 by updating the profile picture that appears in various places, such as the Settings app, Start menu, and lock screen. By following a few simple steps, you can choose a new image from your files or take a new photo using your device's camera.
- Open Settings
Press the Start button on your keyboard and press the cog button above the power button. Alternatively, press Windows + I.


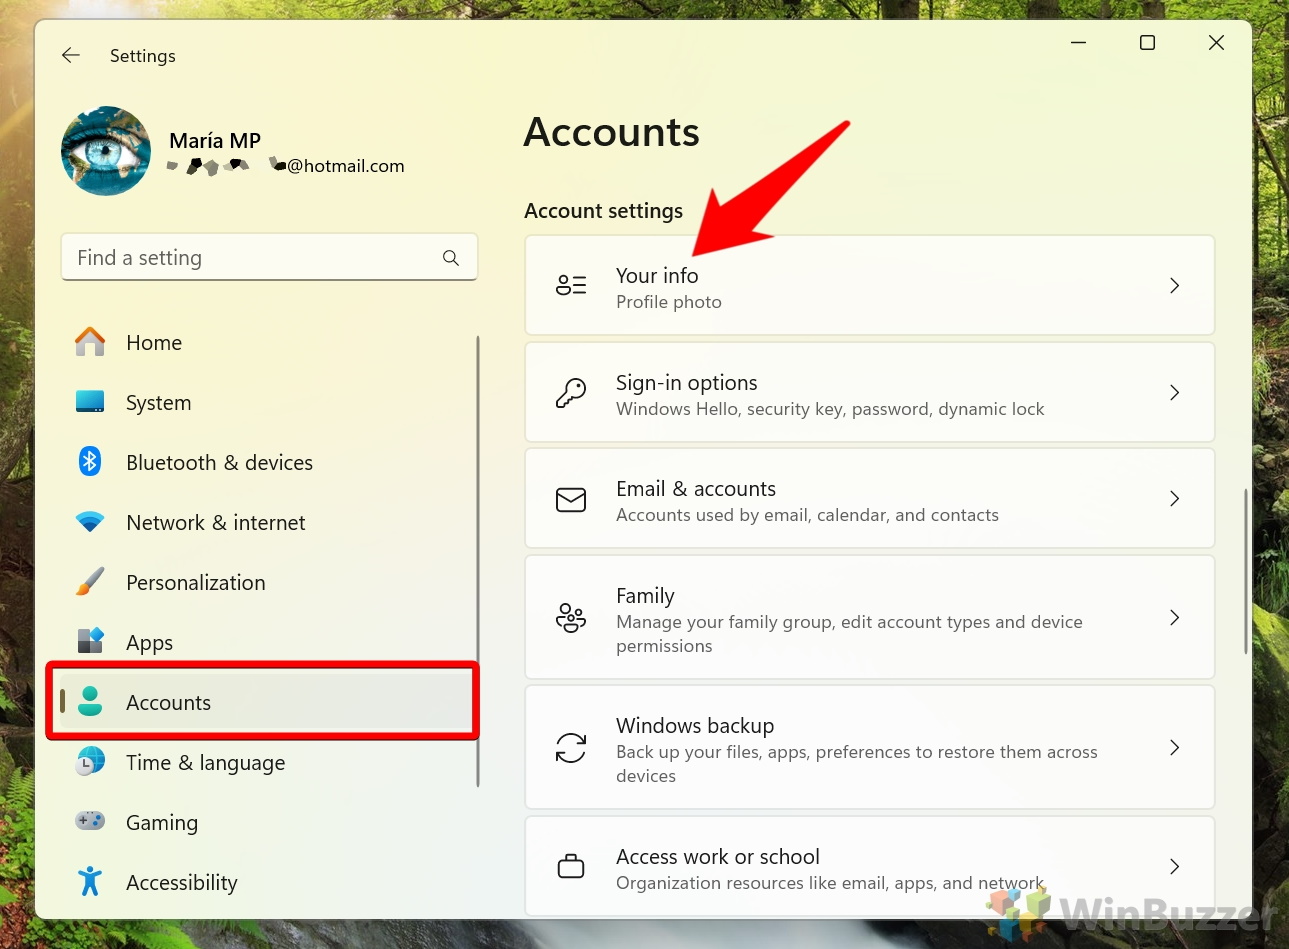
- Navigate to “Your info”
Navigate to the “Accounts” section by clicking on it in the settings menu and then click “Your info“.
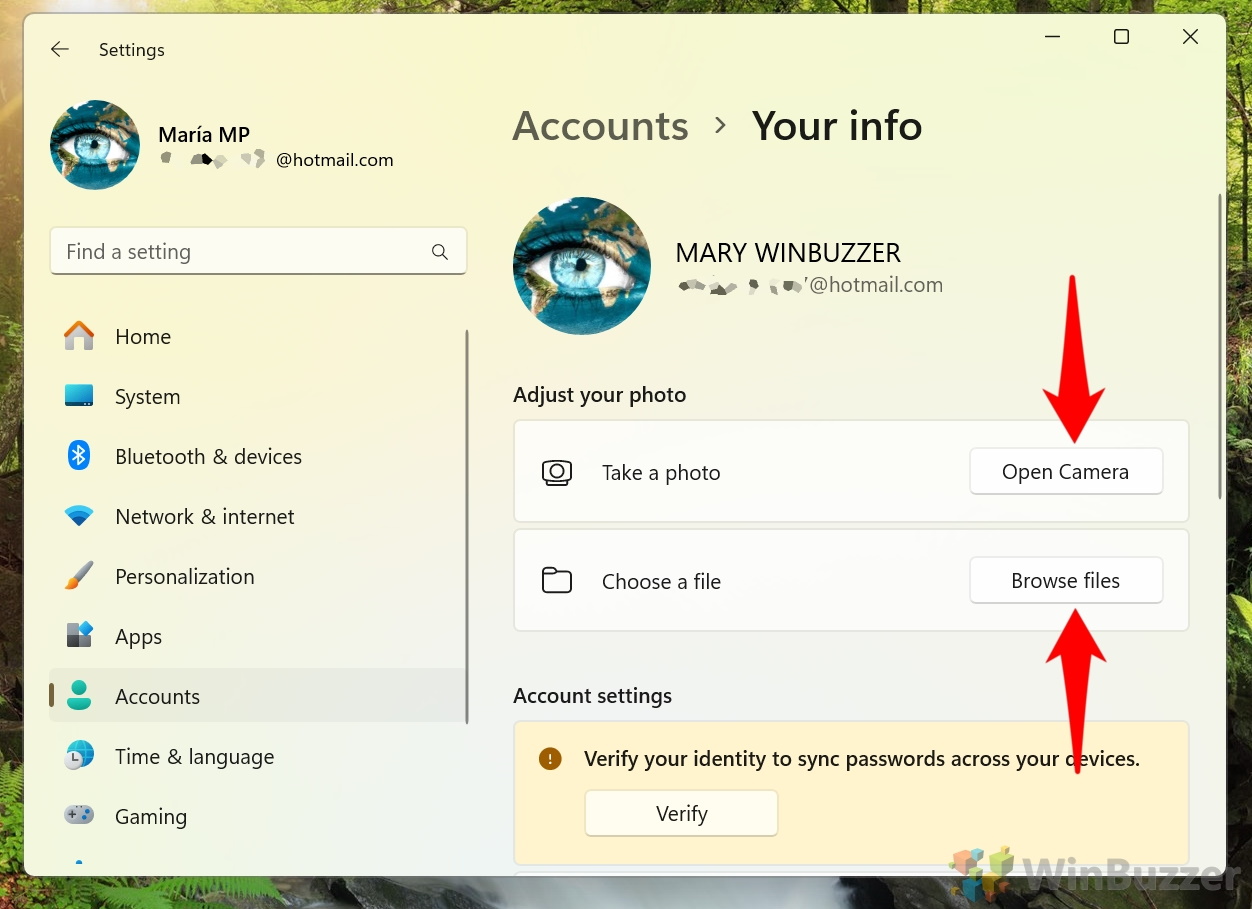
- Change or Add your Account Profile Image
Use “Open Camera” to take a photo or “Browse files” to select an image from your PC.
How to Change the Microsoft Account Picture on Windows 11
If you're using a Microsoft account to log into Windows 11, this method explains how to change your profile picture, which will be synchronized across all your devices and Microsoft services, such as Outlook and OneDrive. You can update your picture either through the Windows 11 settings or directly from the Microsoft account website (see below), ensuring a consistent image is displayed wherever your Microsoft profile is used.
- Open Settings
Press the Start button on your keyboard and press the cog button above the power button. Alternatively, press Windows + I.
- Navigate to “Your info”
Navigate to the “Accounts” section by clicking on it in the settings menu and then click “Your info“.
- Click “Change photo”

- Change or Add your Account Profile Image
Use “Open Camera” to take a photo or “Browse files” to select an image from your PC.
How to Change the Local Account Picture on Windows 10
Similar to Windows 11, this method details how to update the profile picture for a local user account on Windows 10. By navigating through the Settings app, you can easily select a new photo from your computer or use your device's camera to capture a fresh image. This customization feature allows your local account to have a personalized look, visible in multiple user interface elements of Windows 10.
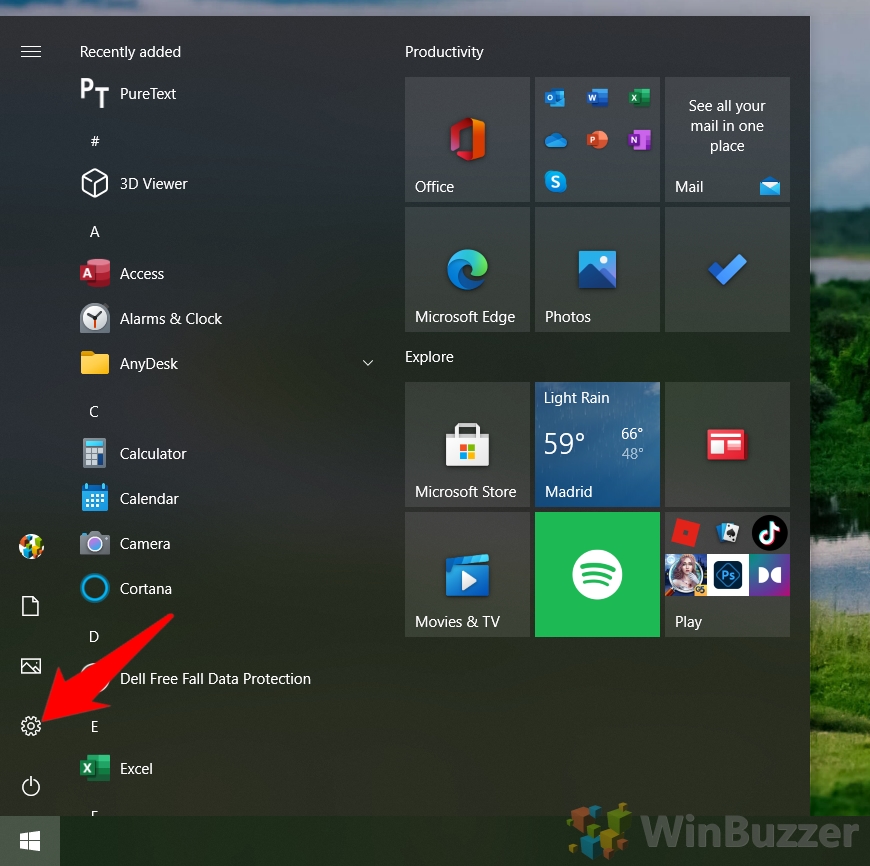
- Open Settings
Press the Start button on your keyboard and press the cog button above the power button. Alternatively, press Windows + I.

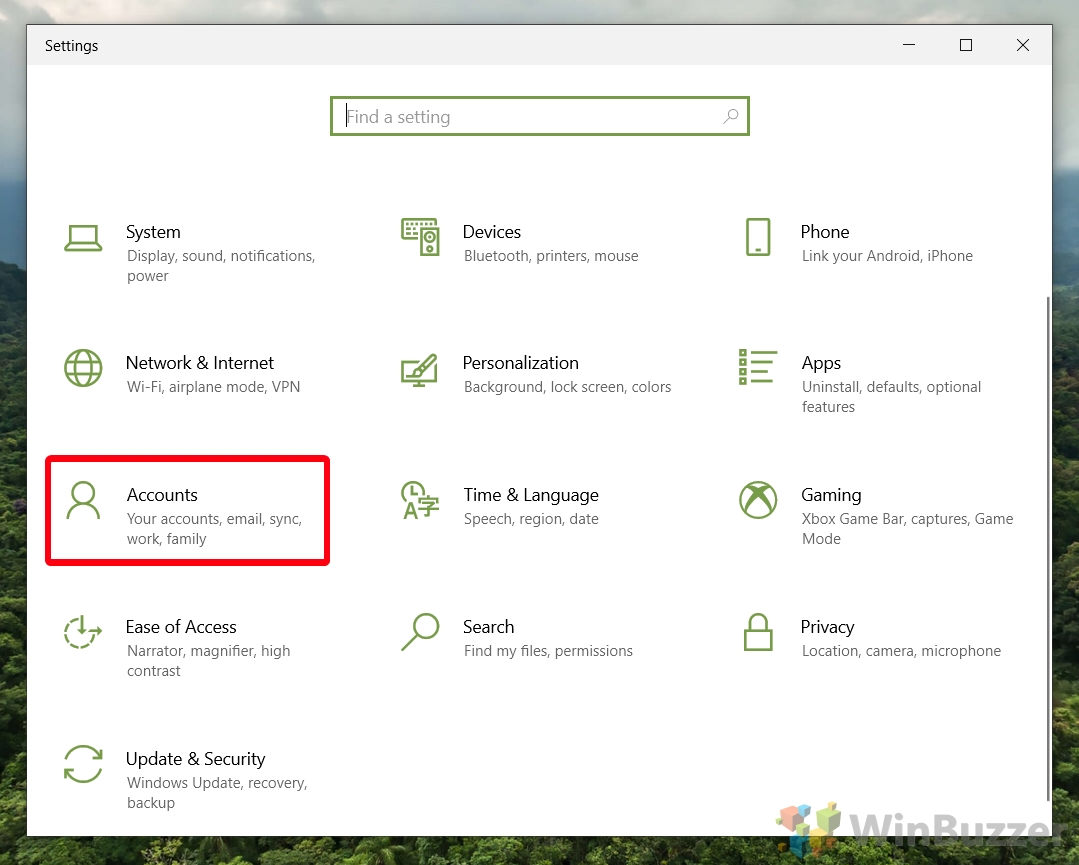
- Navigate to “Accounts”
Navigate to the “Accounts” section by clicking on it in the settings menu.

- Click on “Your info” in the Settings sidebar, then on “Camera” or Browse for one”
Naturally, you should click “Browse for one” if you already have a picture saved, and “Camera” if you're wanting to take one with your webcam now.
Either browse to your picture and press “Open” or press the shutter button on the camera app. The picture will instantly replace your default profile picture.


How to Change the Microsoft Account Picture on Windows 10
For users signed into Windows 10 with a Microsoft account, this method describes how to change your profile picture, which will be updated across all connected devices and Microsoft services. You can either use the Windows 10 Settings app or the Microsoft account website (see below) to upload a new picture.
- Open Windows Settings
Open the settings by pressing the hotkey “Windows + I” or via the “Start” menu.

- Navigate to “Accounts”
Navigate to the “Accounts” section by clicking on it in the settings menu.

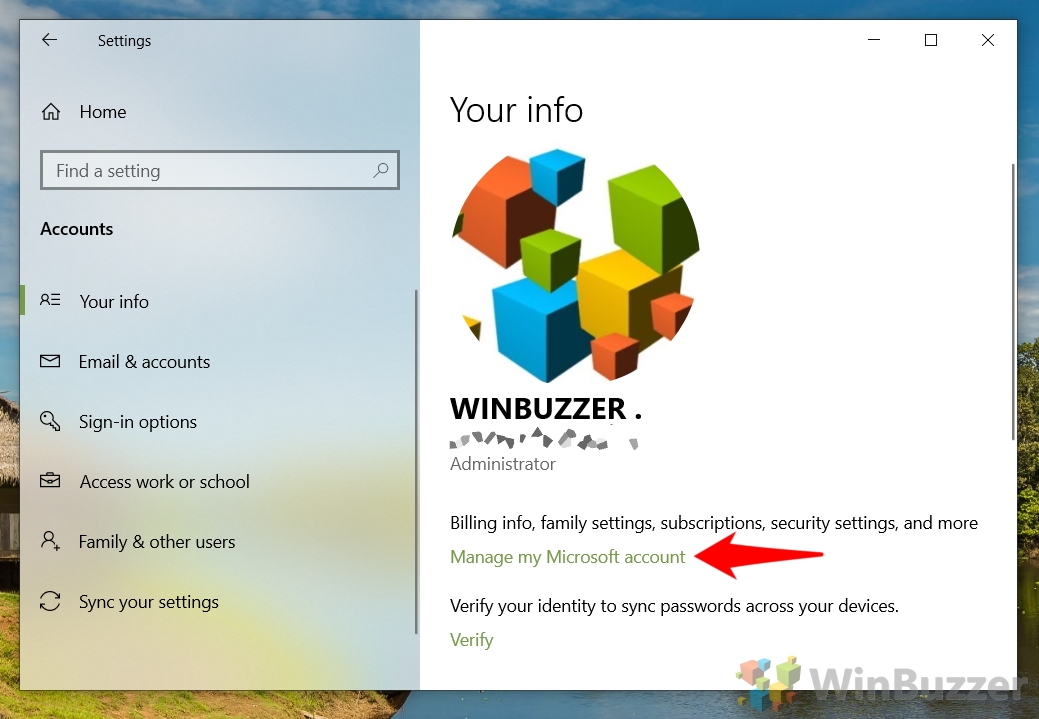
- Select “Manage my Microsoft account”
Click “Manage my Microsoft account” under the “Your info” section in the sidebar.

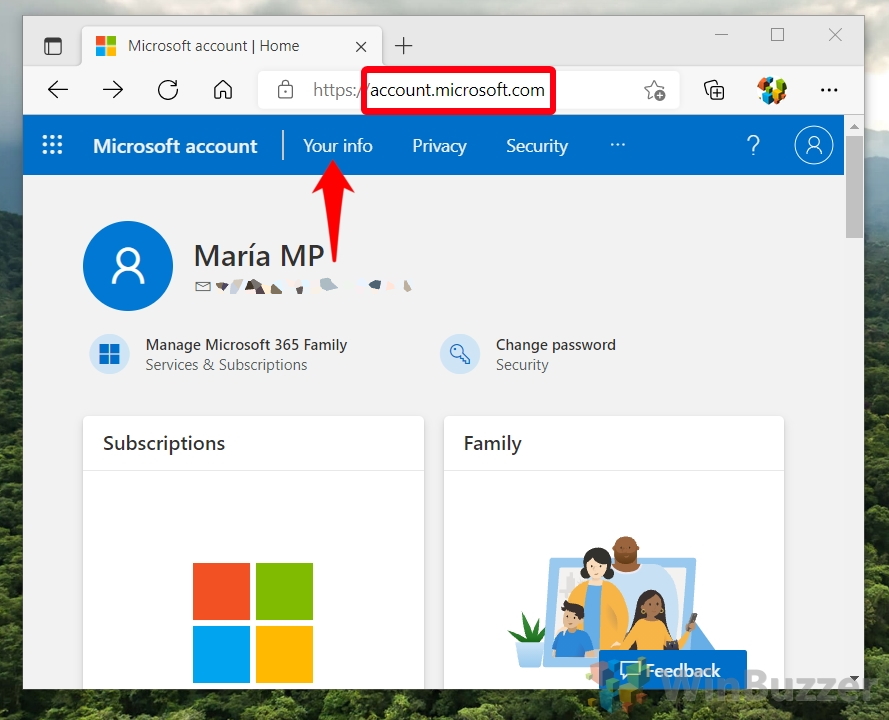
- Wait for the Microsoft account settings webpage to open and press “Your info” at the top of it
If the webpage doesn't open automatically, you can instead paste
account.microsoft.com in your browser's URL bar.

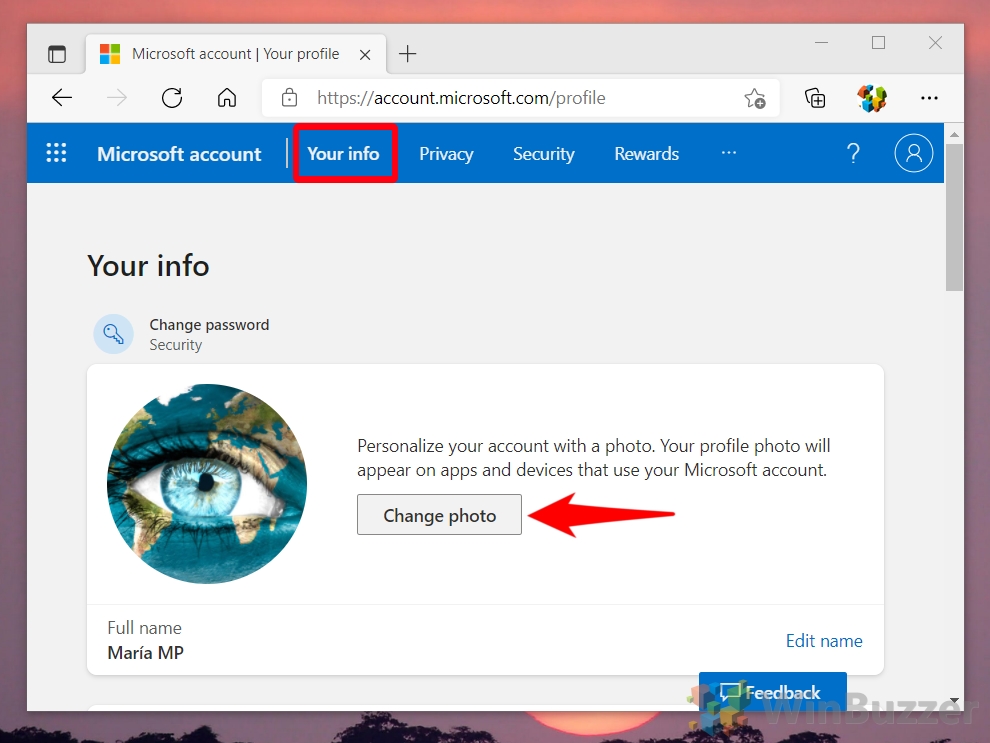
- Access “Change photo”
Click “Change photo” under the “Your info” section.

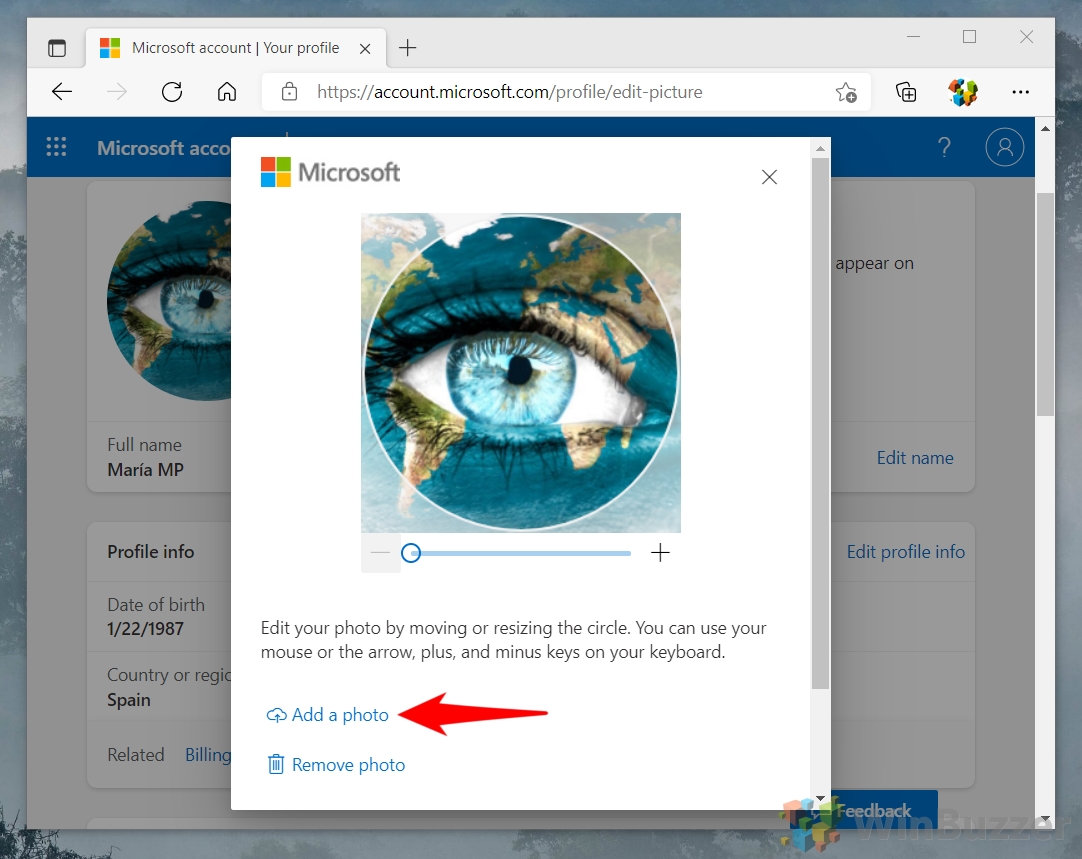
- Change or Add a Photo
Click “Change photo” or “Add a Photo” under the “Your info” section. You can adjust the zoom level of the picture in your browser by moving the slider to the right or left.

How to Change the Microsoft Profile Picture in Your Microsoft Account
This method provides instructions on how to change your profile picture directly through the Microsoft account website. By logging into your account and uploading a new image, you can ensure that your profile picture is updated across all Microsoft services, including email, cloud storage, and other connected applications.
- Access “Your info” in your Microsoft Account
Open account.microsoft.com in your browser's URL bar, log in if necessary and click “Your info” in the top bar.

- Access “Change photo”
Click “Change photo” under the “Your info” section.

- Change or Add a Photo
Click “Change photo” or “Add a Photo” under the “Your info” section. You can adjust the zoom level of the picture in your browser by moving the slider to the right or left.

Related: How to Completely Delete a Microsoft Account and Remove It from Windows 11
So, the time has come for you to get rid of your Microsoft account. Maybe you created it but never use it, or perhaps you don't feel good about the privacy implications. In our other guide, we show you how to completely delete a Microsoft Account and remove It from Windows 11.
Related: How to Remove a Microsoft Account from Windows 11 or Windows 10
Microsoft has increasingly encouraged users to log into its operating systems using Microsoft accounts. This initiative began with the mandatory sign-in for Windows 11 Home users during installation and later extended to Windows 11 Pro users. In our other guide, we show you how to remove a Microsoft Account from Windows 11 or Windows 10, and transition to a local account if you prefer a more traditional user experience.

Related: How To Delete a User Account in Windows 11
There are various reasons you might need to delete a user account: maybe the account is no longer needed, you're preparing to give the computer to someone else, or you simply want to clean up old accounts that are no longer in use. Regardless of the reason, Windows 11 offers several ways to remove user accounts, which we explain in detail in our other guide.

Related: How to Change the Windows Owner Name and Organization Name
When you perform a fresh install of Windows, you may notice that the registered owner is set to “Windows User”, and the organization name is missing. While this won't be important for many, some applications will reference this. In a professional environment, keeping up appearances can be important. In our other guide, we show you how to change your registered owner name and organization in Windows so it displays correctly in all apps.
FAQ – Frequently Asked Questions About Profile Pictures on Windows and Microsoft Accounts
How can I resize a picture before setting it as my profile picture?
To resize an image on Windows, open it using the Paint or Photos app. In Paint, click on “Resize” from the toolbar, choose either “Percentage” or “Pixels”, and input your desired dimensions. In Photos, click on the “Edit & Create” button on the toolbar, select “Edit,” and then adjust the size under “Crop & rotate.”
Are there any restrictions on the file type for the profile picture?
Windows typically supports JPEG, PNG, and BMP formats for profile pictures. Make sure your image file matches these formats to avoid compatibility issues. Other types like GIF or TIFF may not be supported for profile visuals.
How do I remove a profile picture completely, reverting to the default?
To remove a profile picture and revert to the default icon, navigate to the “Your info” section in Windows Settings. Here you will find an option to “Remove” the current picture, after which the default image (typically a silhouette) will be restored.
Can I use my phone's picture as my profile picture on my computer?
To use a picture from your phone, transfer the file to your PC first using a USB cable, via email, or through cloud storage services like OneDrive or Google Drive. Once transferred, follow the steps in the tutorial for uploading it as your profile picture.
What is the ideal size or resolution for a profile picture on Windows?
The ideal resolution for a Windows profile picture is at least 256×256 pixels to ensure clarity across various displays. Larger images are also acceptable as Windows can scale them down appropriately. Utilizing a square aspect ratio helps ensure the photo displays well across all user interfaces.
What should I do if my new profile picture is not updating across devices?
If your updated profile picture is not showing across devices, ensure that you are connected to the internet. Sometimes synchronization may take time; logging out and then back into your Microsoft account on all devices may expedite this process.
What privacy settings should I be aware of when updating my profile picture?
When updating your profile picture on Microsoft services, be aware that it could be visible on various platforms like Outlook, Teams, or Xbox. You can manage who sees your profile picture through the privacy settings on each specific service or your general Microsoft account privacy settings.
Is there a way to preview my profile picture before saving it?
Both the Microsoft account online interface and the Windows settings on your device allow for a preview of your new profile picture. You can see how it looks in various sizes and adjust its alignment or zoom level before finalizing your selection.
Can I set a GIF as my profile picture on Windows?
Windows does not support animated GIFs for profile pictures. You should use a static image file such as JPEG, PNG, or BMP. If you want to use an image from a GIF, you'll need to extract a frame and save it as a supported file type.
How do I change my profile picture if I'm not the admin on the computer?
Even if you are not the administrator, you can change your user profile picture via the “Accounts” section in the Windows Settings. However, if group policies restrict this action, you will need administrative privileges or assistance from your IT department.
What to do if the “Change picture” option is missing in settings?
If you cannot find the “Change picture” option, it may have been disabled by your system administrator, especially in managed IT environments. Contact your IT support team for assistance or to request the necessary permissions.
How to change the profile picture on Windows if I'm logged in with an Azure AD account?
For Azure AD accounts, your profile picture often depends on your organization's policy and might be managed centrally. Typically, you'll need to update your picture through Office 365 or through the Azure portal, dependent on administrator settings.
Can I revert to my previous profile picture if I change my mind?
If you want to revert to a previously used profile picture, navigate to the same section where you updated the picture. Both Windows and the Microsoft account website maintain a history of used images, allowing you to select from previously uploaded pictures.
How do I know if I'm using a Microsoft account or a local account on Windows 10 or Windows 11?
To check your account type, go to Settings, then Accounts, and click on “Your info“. A Microsoft account shows your email address under your user icon, while a local account will only show “Local account” without an email address.
Can I use a photo taken directly from my webcam as my account picture?
Windows allows you to directly capture a photo using your webcam for use as your account picture. To do this, navigate to the account settings, choose to change your picture, and select the option to capture a photo using your webcam. Follow the prompts to take and apply the new photo.


