Decor
Use Chalk Paint and Antiquing Wax
Bring new life to old furniture with a unique blend of Chalk Paint and Antiquing Wax, but that's just the beginning…
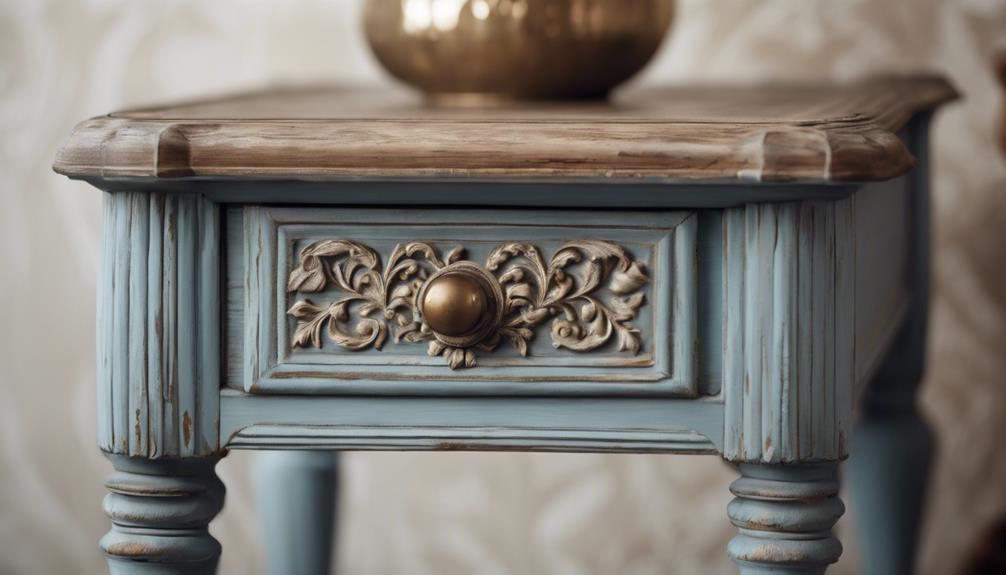
We use Chalk Paint and Antiquing Wax to breathe new life into old furniture. First, we prep the surface by cleaning and taping off areas not to be painted. Then, we apply Chalk Paint in smooth strokes, allowing each coat to dry before adding additional layers. To achieve a distressed look, we sand or scrape the surface, focusing on high-traffic areas. Finally, we seal and protect our masterpiece with Antiquing Wax, adding a rich, aged finish. By combining these techniques, we can create stunning, one-of-a-kind pieces. As we continue to work with these versatile mediums, we'll uncover even more creative possibilities.
Key Takeaways
• Apply Chalk Paint in smooth, even strokes, allowing 20-30 minutes drying time between coats for optimal coverage.
• Use Antiquing Wax over distressed areas to enhance the aged look and add character to your furniture.
• Apply Dark Wax over clear wax for a rich, antiqued finish, and buff for a polished look.
• Seal and protect your furniture with Chalk Paint Wax, choosing Clear Wax for a subtle sheen or Dark Wax for an antiqued look.
• Experiment with distressing techniques, such as sanding or scraping, to reveal underlying layers and add authenticity to your finish.
Preparing the Surface
We start by giving our furniture piece a thorough cleaning with hot water, dish soap, and vinegar to remove any dirt and grime that may impact paint adhesion. This important step in surface preparation guarantees a smooth finish and helps the Chalk Paint adhere properly.
Next, we tape off areas that we don't want to paint, and remove any hardware from the furniture piece to prevent paint from getting stuck in small crevices. Before applying the Chalk Paint, we make sure to stir it well to ensure an even consistency.
We'll apply the paint in smooth, even strokes, allowing each coat to dry for 20-30 minutes. Depending on the desired look, we may need to apply multiple coats of paint before moving on to distressing or waxing with Antiquing Wax.
Applying Chalk Paint
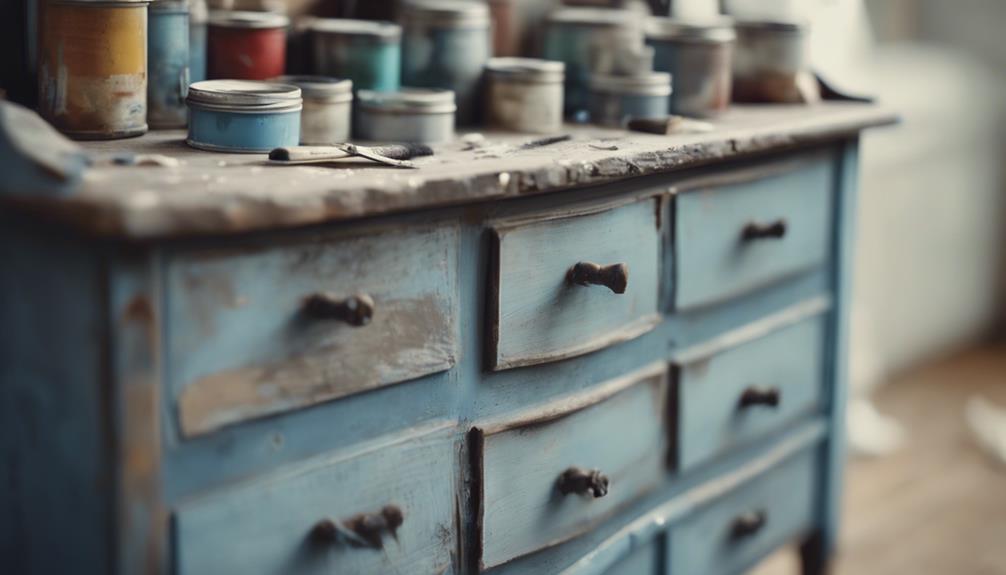
With our surface properly prepared, we're ready to apply the first coat of Chalk Paint, using round brushes to navigate intricate grooves and carvings on our furniture piece. This versatile paint can be applied in various directions for a textured finish, giving our piece a unique character.
| Coat | Drying Time | Tips |
|---|---|---|
| 1st Coat | 20-30 minutes | Use round brushes for grooves and carvings |
| 2nd Coat | 20-30 minutes | Apply in different directions for texture |
| 3rd Coat | 20-30 minutes | Distress with a wet rag or sanding block |
| 4th Coat | 20-30 minutes | Seal with wax for a smooth finish |
| Final Touches | – | Use Dark Wax for an aged look |
When applying Chalk Paint, it's crucial to allow each coat to dry for 20-30 minutes before applying additional coats. This ensures a smooth and even coverage for our furniture painting project. As we continue to build up the coats, we can distress the paint with a wet rag or sanding block to add character to our piece. With Chalk Paint, the possibilities are endless, and we can achieve a beautiful, aged look with Dark Wax, just like Annie Sloan's signature style.
Working With Antiquing Wax
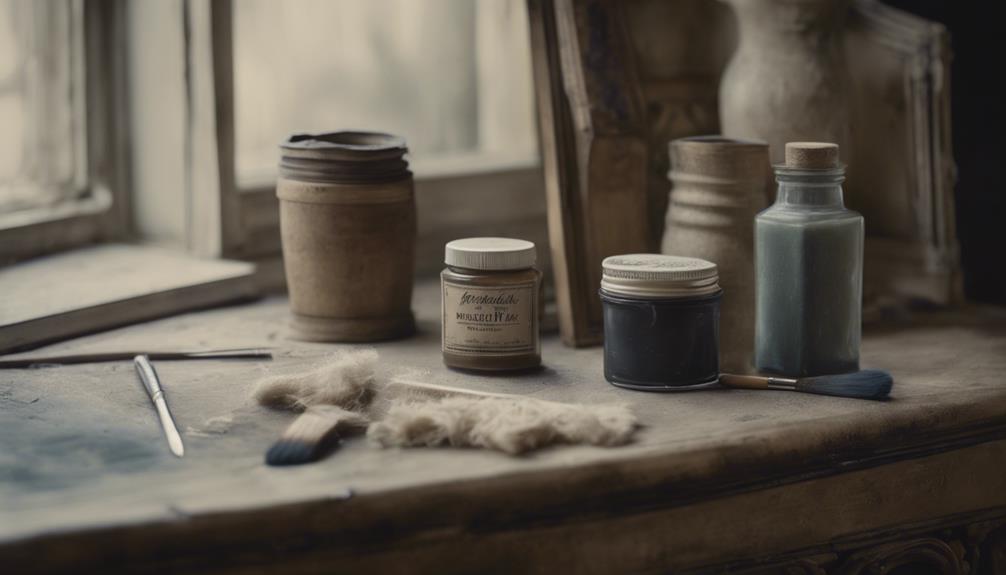
Our next step is to add depth and character to our piece by applying Antiquing Wax, which can accentuate the grooves and carvings, giving it a beautifully aged look. We're excited to see how this wax can transform our piece of furniture into a stunning antique-like masterpiece.
Here are some key things to keep in mind when working with Antiquing Wax:
- To create a rich, dark finish, apply a dark wax over a clear wax base, allowing us to achieve a beautiful, aged look.
- Using a natural bristle brush, such as a Chalk Paint® Wax Brush, helps us to apply the wax to hard-to-reach areas and get into the nooks and crannies of our piece.
- After applying the wax, we can buff it to achieve a polished and finished look on our furniture.
Achieving a Distressed Look
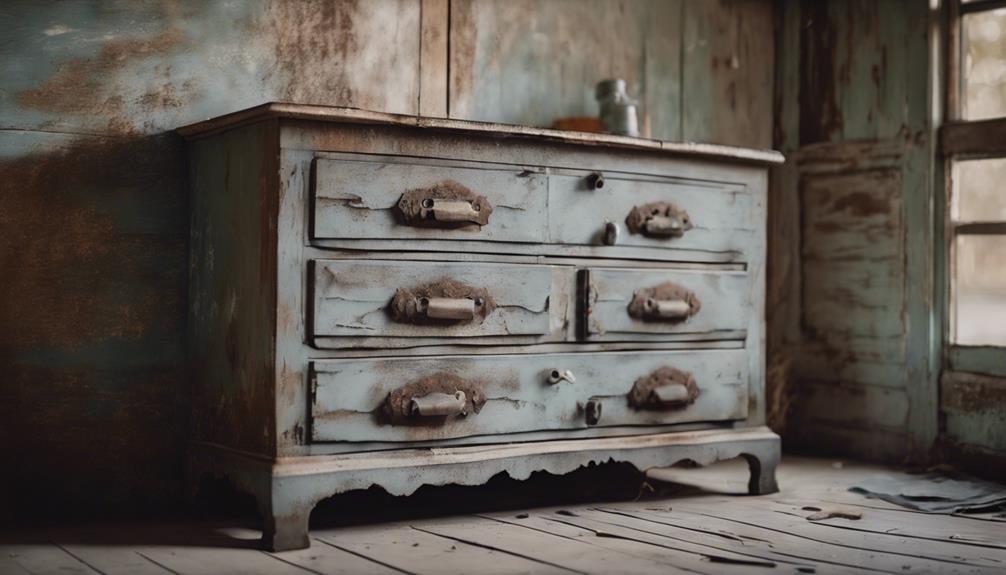
By applying Antiquing Wax, we've added a rich, dark finish to our piece, and now it's time to take it to the next level by introducing a distressed look that will give it a beautifully aged, worn appearance.
To achieve this, we'll employ distressing techniques that involve sanding or scraping the painted surface to reveal the underlying wood or previous paint layers. This process adds a weathered and aged appearance to our furniture, enhancing its character and charm. We can focus on high-traffic areas or natural wear spots to create a more authentic look.
Once we've distressed the surface, we can apply Antiquing Wax over the distressed areas to further enhance the aged effect and highlight the texture. Experimenting with different distressing techniques and amounts of antiquing wax allows us to achieve the desired level of distress and antiqued finish.
Sealing and Protecting

We apply a coat of Chalk Paint Wax to seal and protect our beautifully distressed and antiqued piece, guaranteeing its durability and longevity. This important step prevents wear and tear, fingermarks, and makes cleaning easier. We use Chalk Paint Wax because it provides a strong protective coat for our painted furniture.
Chalk Paint Wax offers a matte finish that can be buffed for added shine if desired.
Full curing of Chalk Paint Wax can take up to 2 weeks, becoming stronger over time.
Sealing with Chalk Paint Wax works hand in hand with Chalk Paint to enhance durability and longevity of the finish.
When refinishing furniture, it's vital to use a protective coat to ensure our hard work lasts. We can choose between a Clear Wax for a subtle sheen or a dark antique wax for a richer, more antiqued look. By using Chalk Paint Wax, we can confidently create beautiful, long-lasting pieces that will stand the test of time.
Tips and Troubleshooting
As we explore the world of chalk paint and antiquing wax, we've learned that even with the best intentions, mistakes can happen.
To guarantee a successful project, it's crucial to be aware of common mistakes and know how to troubleshoot issues that may arise.
In this section, we'll discuss some common pitfalls to avoid and provide techniques to fix them, so we can achieve the beautiful, aged look we desire.
Common Mistakes
When working with chalk paint and antiquing wax, we've all been there – excited to achieve a beautifully distressed finish, only to end up with a mess on our hands. It's easy to get carried away with the antiquing process, but there are some common mistakes to avoid.
Here are a few common mistakes to watch out for:
- Applying too much antiquing wax, which can result in a blotchy finish. Instead, start with a small amount and build up as needed.
- Not allowing the chalk paint to fully dry before applying antiquing wax, causing the wax to lift the paint and leading to a messy outcome.
- Using too much pressure when buffing the antiquing wax, which can remove too much of the wax and result in an uneven finish.
Troubleshooting Techniques
To guarantee a successful outcome, we test our techniques on a small, inconspicuous area before applying the antiquing wax to the entire piece. This way, we can identify and address any potential issues before they become major problems.
When we're going through the process of using chalk paint and antiquing wax, it's crucial to keep track of our steps, so we can refer back to them if needed. If we encounter challenges, we don't hesitate to seek advice from experienced individuals in the field. We've learned that embracing the learning process and being open to adjusting our techniques can lead to better results. When in doubt, we look to reliable sources for clarification, and we're not afraid to start over if needed.
After applying a coat of Clear Wax, we let it dry before applying the dark wax immediately. This helps prevent unwanted brush marks and ensures a smooth finish. By following these troubleshooting techniques, we can guarantee a beautiful, professional-looking finish for our piece.
Frequently Asked Questions
How to Use Antique Wax With Chalk Paint?
We're often asked how to use antique wax with chalk paint.
To start, we apply a coat of chalk paint to our furniture, letting it dry completely.
Next, we mix dark wax with mineral spirits to create a glaze, which we brush onto the details we want to highlight.
After letting it dry, we buff the wax to achieve a smooth finish.
Can You Antique Over Chalk Paint?
We're 'cut from the same cloth' when it comes to wanting a vintage look on our furniture or decor.
The good news is, yes, we can antique over chalk paint to achieve that aged appearance. This process allows us to add depth and dimension, highlighting details and textures.
Can You Mix Chalk Paint With Wax?
We've discovered that mixing chalk paint with wax is a great way to access a customized finish. By combining the two, we can regulate the application and color variation.
The ratio of paint to wax can be adjusted to achieve the desired intensity of color. This technique allows us to create unique, personalized finishes for our furniture and decor projects.
When to Use Dark Wax on Chalk Paint?
When deciding when to use dark wax on chalk paint, we consider the desired aesthetic. We typically apply dark wax after clear wax to achieve an aged, vintage look.
It's ideal for adding depth and dimension to furniture or decor pieces. By applying it to specific areas, we can create a rich, antiqued effect.
We test it on small areas first to guarantee the desired outcome before applying it to the entire piece.
Conclusion
As we step back to admire our handiwork, the once-drab piece now radiates a warm, vintage charm, like a sepia-toned photograph come to life.
By combining chalk paint and antiquing wax, we've bridged the gap between past and present, crafting a unique, one-of-a-kind masterpiece.
With every brushstroke, we've distilled the essence of nostalgia, transporting ourselves to a bygone era where time stood still.
- About the Author
- Latest Posts
Introducing Ron, the home decor aficionado at ByRetreat, whose passion for creating beautiful and inviting spaces is at the heart of his work. With his deep knowledge of home decor and his innate sense of style, Ron brings a wealth of expertise and a keen eye for detail to the ByRetreat team.
Ron’s love for home decor goes beyond aesthetics; he understands that our surroundings play a significant role in our overall well-being and productivity. With this in mind, Ron is dedicated to transforming remote workspaces into havens of comfort, functionality, and beauty.

Creating DIY table risers successfully involves gathering materials like wood boards, glue, and tools, then accurately measuring and cutting the wood. Next, sand the pieces for a smooth finish and drill pocket holes for joint strength. Assemble the wood securely with screws and glue, ensuring stability with firmly attached legs. Add personal flair with decorative touches such as paint or varnish. After completion, share your project for feedback and inspiration. These systematic steps will guide you through crafting sturdy and stylish table risers. Additional insights await for those keen to master the art of DIY furniture.
Key Takeaways
- Accurately measure and cut wood for perfect fit.
- Securely attach legs for stability.
- Apply decorative finishes for personal touch.
- Share projects on social media for inspiration.
- Engage with DIY community for feedback and ideas.
Gather Supplies
Let's grab our wood boards, wood glue, clamps, sandpaper, and a saw to kick off creating our DIY table risers. When working with wood, having the right tools is essential for a successful project.
The wood boards will form the foundation of our table risers, providing stability and structure. Using wood glue is necessary to securely bond the pieces together, creating a strong and durable riser. Clamps will help hold the boards in place while the glue sets, ensuring a tight and seamless fit.
Additionally, the saw will be used to cut the wood boards to the desired dimensions, allowing us to customize the height and size of our table risers. This tool is important for achieving precise cuts and ensuring that the risers are uniform in shape.
Measure and Cut Wood
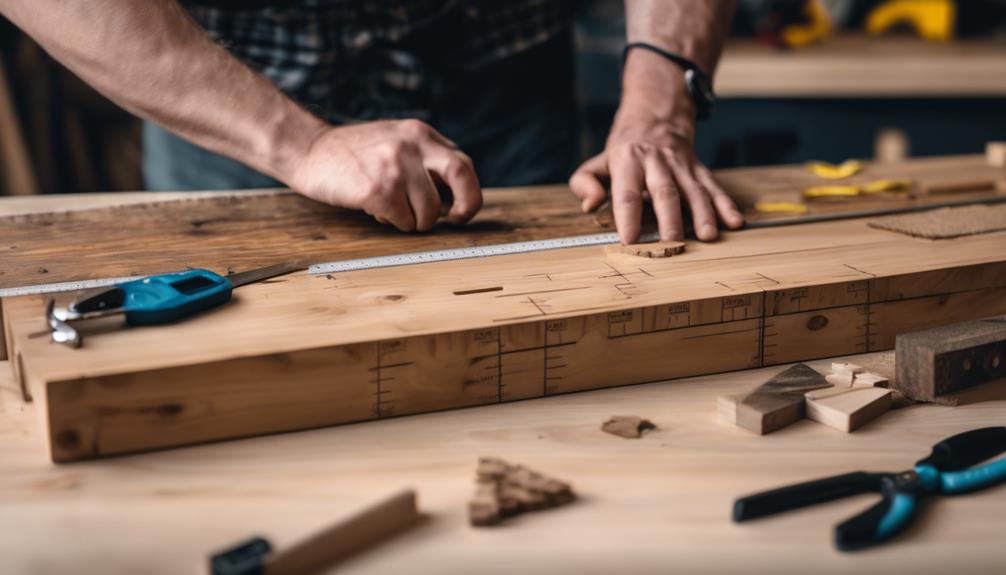
To start creating our DIY table risers, we need to measure and cut the wood boards to the desired size for the project. Accurate measurements are vital to make sure the table riser fits perfectly in the intended space.
Using a saw, carefully cut the wood according to the measurements taken. Precision in cutting is essential for the stability and functionality of the table riser. A well-cut wood board won't only enhance the visual appeal of the table but also provide the necessary support for its intended use.
Remember, proper measurements and cuts are essential for the success of your DIY table riser project. Take your time to measure accurately and use the saw with care to achieve the desired outcome.
This step sets the foundation for the rest of the project and contributes significantly to the overall quality of the final table riser product.
Sand Wood Pieces

When sanding wood pieces for our DIY table risers, it's essential to achieve smooth surfaces free of imperfections. By using 80, 120, and 220 grit sandpaper, we can guarantee a consistent and even texture across all pieces.
Removing rough spots through proper sanding will result in a polished and professional look for our final project.
Smooth Wood Surfaces
Sanding wood pieces with 220 grit sandpaper is vital to achieving a smooth surface for the DIY table risers. This process is important as it helps in preparing the wood for a flawless finish, guaranteeing a professional and refined appearance.
To achieve the desired smoothness effectively, consider the following:
- Consistent Pressure: Apply uniform pressure while sanding to avoid creating uneven surfaces.
- Multiple Passes: Sand the wood pieces thoroughly with multiple passes to eliminate imperfections.
- Rotary Sander: Utilize a rotary sander for larger surfaces to achieve a polished look efficiently.
- Check for Splinters: Inspect the wood pieces carefully to make sure all splinters and rough spots are removed.
Remove Rough Spots
We begin the process of smoothing the wood pieces by sanding them with 80, 120, and 220 grit sandpaper to eliminate rough spots and guarantee a polished finish.
Sanding the edges and surfaces of the wood pieces is vital to achieving a professional look for your DIY table risers.
This step not only enhances the aesthetic appeal but also preps the wood for staining or painting, elevating the overall appearance of the final product.
Ensure Even Texture
To achieve a smooth and even texture on the wood pieces for your DIY table risers, sanding with 220 grit sandpaper is essential. This step is vital in guaranteeing a professional and polished finish for your project. Here are some key points to keep in mind when sanding your wood pieces:
- Use a back-and-forth motion while sanding to achieve a consistent smooth texture.
- Pay special attention to areas with imperfections, rough spots, and splinters to make sure they're properly smoothed out.
- Sand all surfaces of the wood pieces evenly to avoid any uneven spots once staining or painting.
- Prioritize wood surface prep by thoroughly sanding to create a clean and receptive surface for finishing materials.
Drill Pocket Holes
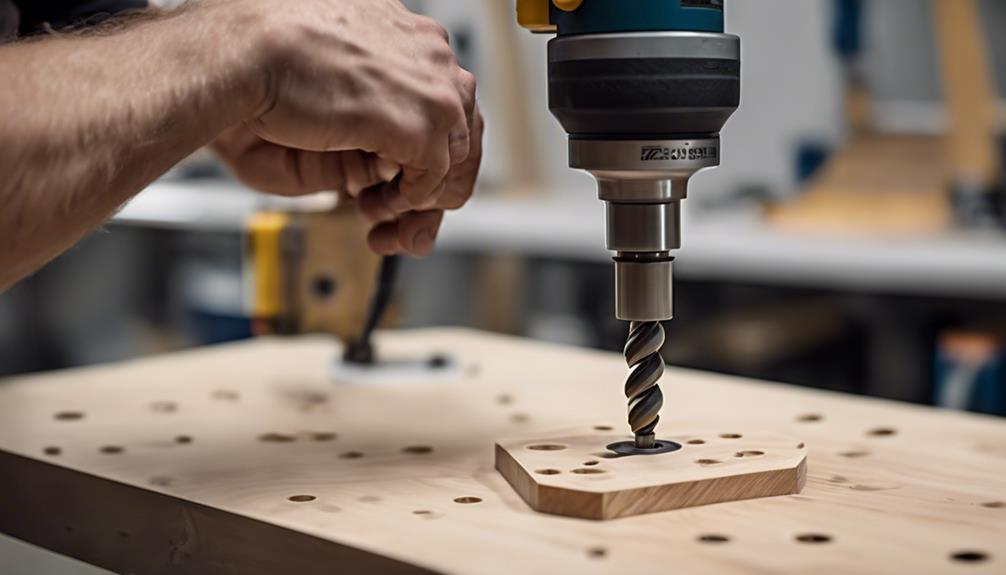
When drilling pocket holes for your DIY table risers, it's important to think about the placement for the best joint strength. Proper drill technique guarantees clean and precise pocket holes, facilitating smooth assembly of the wood pieces.
These two points are essential in achieving a sturdy and professional finish for your tabletop riser project.
Pocket Hole Placement
For maximum joint strength in your DIY table riser project, make sure that pocket holes are drilled evenly spaced along one edge of the board.
When drilling pocket holes, consider the following:
- Even Spacing: Guarantee that the pocket holes are uniformly distributed along the edge to provide balanced support and stability.
- Proper Depth: Drill the pocket holes to the correct depth to accommodate the screws without protruding through the surface of the board.
- Consistent Angle: Maintain a consistent angle when drilling the pocket holes to ensure a snug fit and strong connection between the boards.
- Alignment: Check the alignment of the pocket holes to guarantee that they align perfectly with the corresponding holes on the mating board.
Proper Drill Technique
We recommend utilizing a pocket hole jig like the Kreg Jig for precise and consistent placement of pocket holes when drilling for your DIY table riser project. Key drill technique is important to guarantee the integrity and stability of your wood riser.
Set the drill bit at the correct depth to avoid drilling through the board, which could compromise the structure. Position the drill perpendicular to the wood surface to create straight pocket holes that align perfectly.
Applying steady pressure while drilling is essential to prevent the wood from splintering and maintain a clean finish. It's advisable to practice on scrap wood before tackling your actual project to refine your skills and gain confidence in your pocket hole drilling abilities.
Assemble Wood Pieces
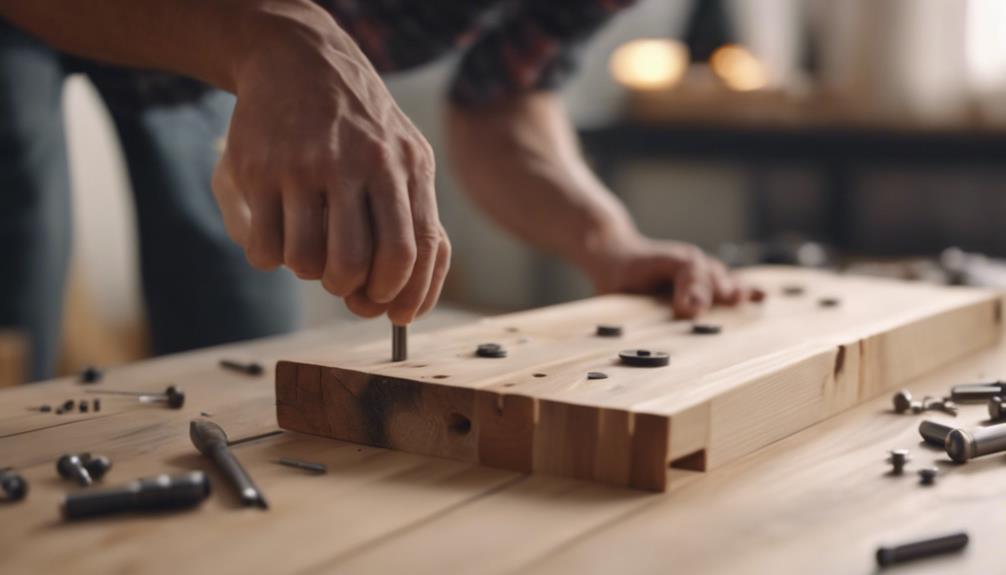
Let's begin by drilling pocket holes on one edge of a board to prepare for assembly. When assembling wood pieces, it's important to guarantee a secure connection by attaching them using pocket holes.
To achieve a sturdy structure, make sure all pieces are aligned properly before screwing them together. Utilizing wood glue in conjunction with screws can greatly enhance the strength and durability of the assembly.
After the pieces are securely fastened, it's essential to inspect for any gaps or uneven surfaces that may require adjustments. By following these steps, you can create a reliable and stable structure for your DIY table risers.
- Drill pocket holes on one edge of each board for assembly.
- Align wood pieces accurately before securing them with screws.
- Apply wood glue to reinforce the connection between the pieces.
- Check for gaps or uneven surfaces post-assembly for necessary corrections.
Apply Finish
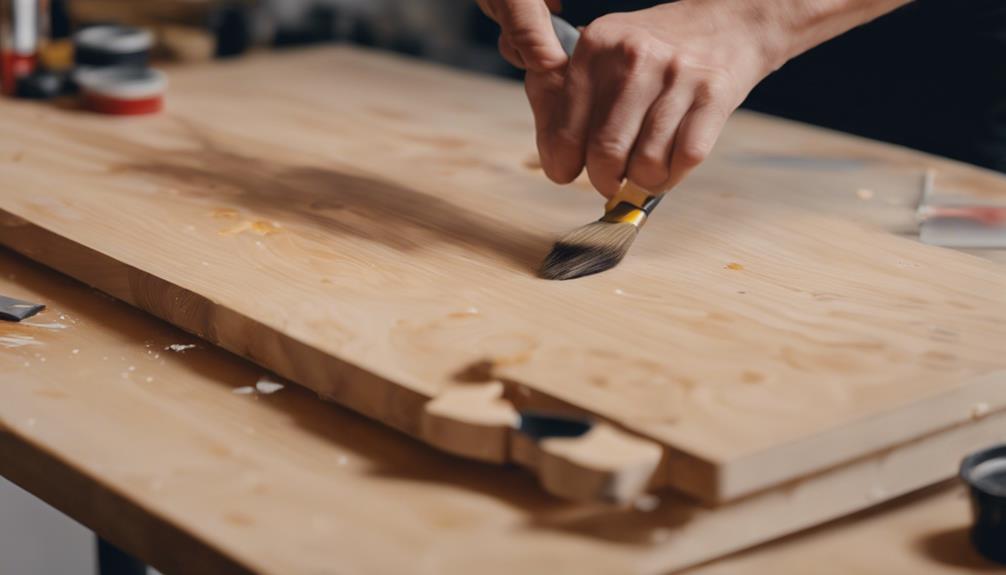
To enhance both the appearance and durability of the DIY table risers, the next step involves applying a finish to the surface. Using a brush or cloth, make sure the finish is spread evenly across the table risers. This step is important not only for aesthetic purposes but also to provide protection against wear and tear. Various finishes such as varnish or polyurethane can be chosen based on the desired look – glossy or matte. Clear wax is another option that seals and safeguards the wood while providing a smooth finish.
Allow the applied finish to dry completely before using the table risers. This drying period is necessary to ensure the finish sets properly, maximizing its protective qualities. Once dry, the table risers will display a polished appearance and be more resilient to daily use.
Selecting the appropriate finish and applying it meticulously will greatly contribute to the overall quality and longevity of the DIY table risers.
Attach Legs Securely
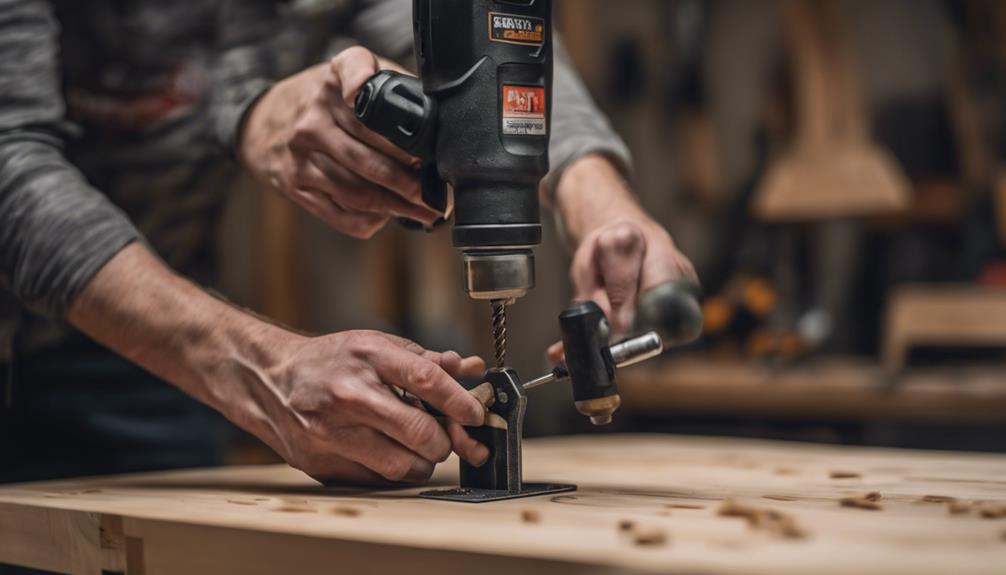
We must guarantee the legs are securely attached to the table riser to maintain stability and prevent wobbling. Using wood glue, nails, or a pin nailer are effective methods for a durable attachment.
Proper alignment and firm attachment of the legs are essential considerations to guarantee the functionality of the DIY table riser.
Leg Attachment Methods
For secure attachment of the legs to the tabletop riser, consider reinforcing the bond with wood glue and additional nails or screws for extra strength. Using a pin nailer can aid in achieving precise and secure leg attachment, ensuring a sturdy construction.
Before attaching the legs, make sure they're aligned correctly with the tabletop riser to prevent any issues during the attachment process. Testing the stability of the legs post-attachment is vital to guarantee that the riser can support the intended weight without any wobbling or instability.
Utilize Wood Glue: Apply a generous amount of wood glue to the leg attachment area for a strong bond.
Add Nails or Screws: Complement the wood glue with nails or screws to further secure the legs to the tabletop riser.
Precision with Pin Nailer: Use a pin nailer for accurate and secure leg attachment, preventing any misalignment.
Check Alignment: Ensure the legs are correctly aligned before attaching them to the tabletop riser to avoid any later adjustments.
Stability Considerations
Ensuring a stable and secure attachment of the legs to the table risers is paramount to prevent any wobbling or instability issues. To achieve this, it's advisable to use robust adhesives such as wood glue or nails when attaching the legs to the risers. These materials create a strong bond that helps maintain the structural integrity of the table risers. For added reinforcement and stability, consider using screws or brackets in conjunction with the adhesive to further secure the legs to the risers.
Before utilizing the table risers for their intended purpose, it's essential to test the stability of the entire structure. This can be done by applying gentle pressure on different points of the table risers to ensure that they can support the weight they're designed to carry.
Prioritizing safety by securely and evenly attaching the legs to the risers is vital in preventing accidents and ensuring a reliable DIY project.
Add Decorative Touches
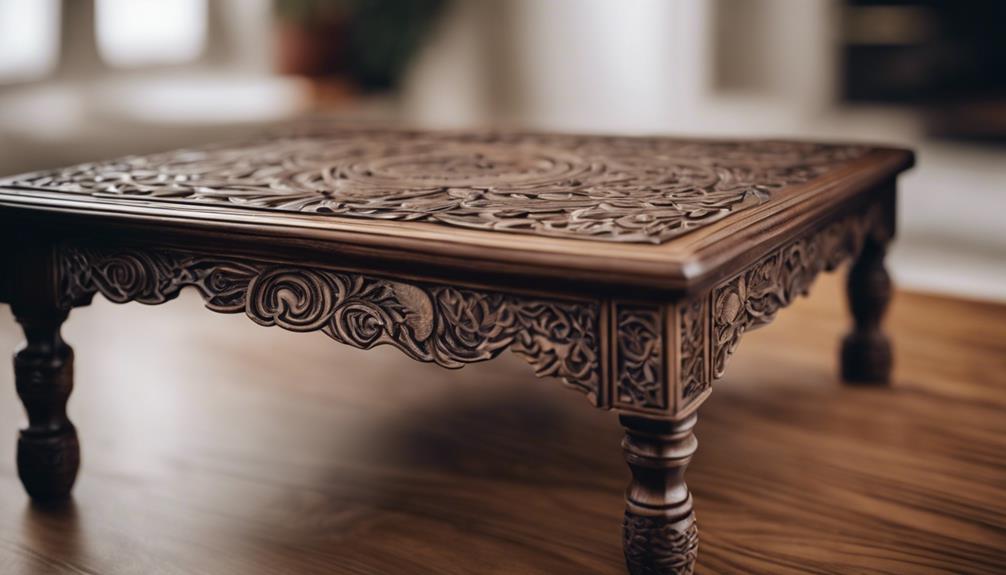
To enhance the visual appeal of DIY table risers, consider incorporating decorative touches such as stencils, paint, or varnish for a personalized touch. Adding these elements can elevate the overall look of your risers and complement your existing home decor.
Here are some ideas to inspire your creative process:
- Stencils: Use intricate stenciled patterns to add a unique and artistic flair to your table risers.
- Paint: Experiment with different paint colors to create a customized design that matches your style preferences.
- Varnish: Apply a coat of varnish to provide a glossy finish that not only enhances the aesthetics but also protects the risers from wear and tear.
- Share Your Designs: Share your creative designs on social media platforms like Pinterest or Facebook to inspire others and gather feedback on your work.
Share Your Project
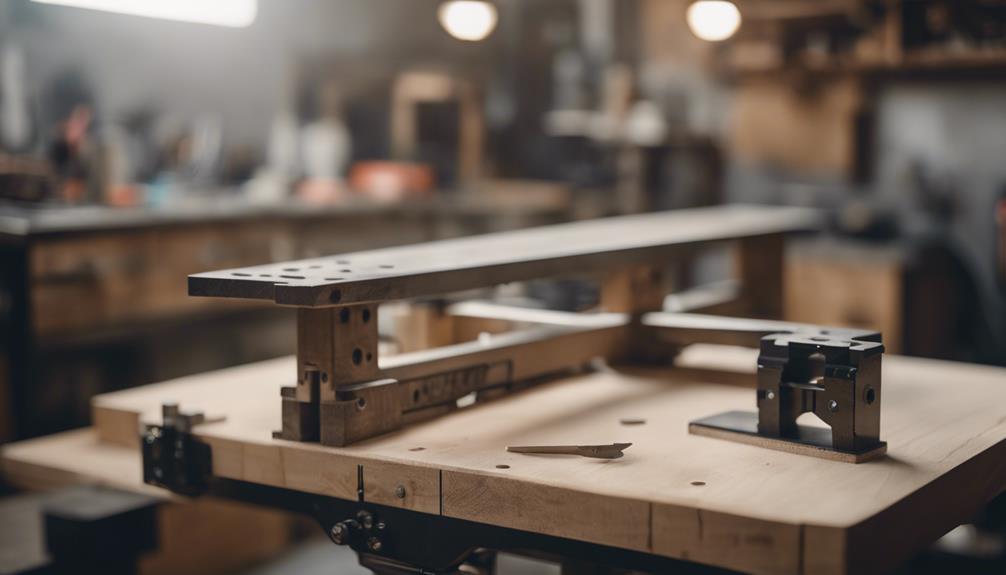
Let's showcase our completed DIY table riser project on various social media platforms to inspire fellow DIY enthusiasts. Sharing your completed project on platforms like Pinterest, Facebook, Twitter, or through email can ignite creativity and motivate others to commence on their DIY journey with table risers.
By engaging with the DIY community, you can display your unique designs and innovative ideas, encouraging a sense of collaboration and inspiration.
When you share your table riser project online, you open the door to receiving valuable feedback and suggestions from like-minded individuals who share your passion for hands-on projects. This interaction allows for constructive criticism and the exchange of ideas, fostering a supportive environment within the DIY community.
Furthermore, by detailing your step-by-step process and showcasing the final results, you can motivate others to experiment with creating their custom table risers. Sharing not only your achievements but also the challenges you faced can provide insight and encouragement to those looking to undertake similar projects.
Join the DIY community in sharing your creativity and expertise in crafting DIY table risers.
Apply Final Varnish
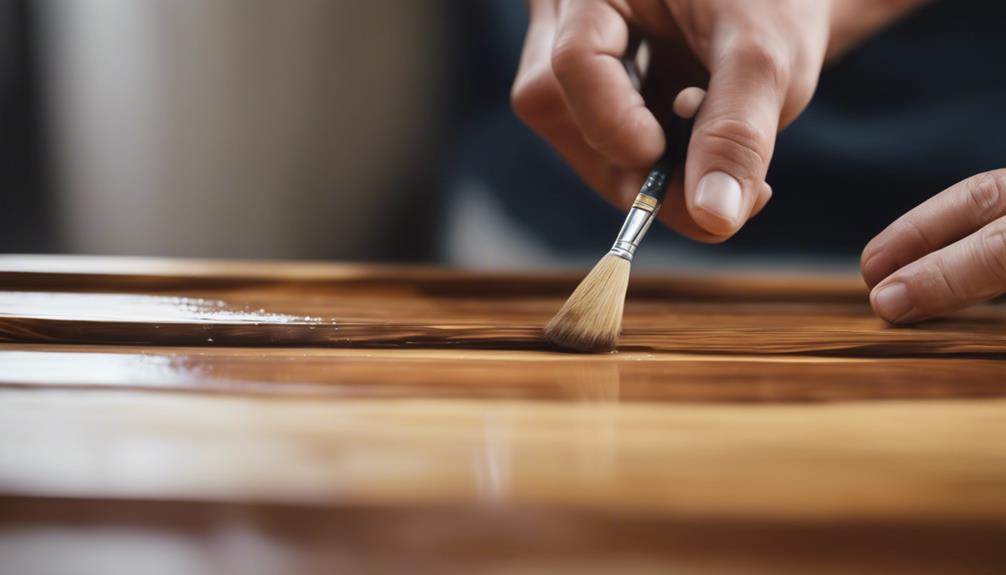
We recommend applying a final varnish to your DIY table risers for added protection and aesthetic appeal. Varnish plays an important role in safeguarding the wood from wear and tear, enhancing durability, and improving the overall look of the risers.
Here are some key points to keep in mind when applying the final varnish:
- Protect Wood: Varnish acts as a protective barrier, shielding the wood from scratches, moisture, and other potential damage.
- Enhance Durability: The additional layer of varnish increases the longevity of your DIY table risers, ensuring they withstand daily use.
- Choose the Right Varnish: Select a varnish that aligns with your preferred finish, whether glossy, satin, or matte, to achieve the desired aesthetic.
- Ensure Proper Drying: Allow the varnish to dry completely before placing any objects on the risers to guarantee a durable and long-lasting finish.
Frequently Asked Questions
How to Make Table Risers?
To make table risers, start by measuring and cutting wood boards to the desired size. Securely attach the legs using glue, nails, or a pin nailer. Then, sand the risers for a smooth finish, ensuring to remove any rough edges. Customize your risers with paint, stain, or decorative stencils for a personalized touch.
Make sure to allow the finish to dry completely before using the risers for display or serving purposes. Following these steps will guarantee sturdy and stylish table risers that can be used for various needs.
How Do You Make a Homemade Riser?
When making a homemade riser, we select a sturdy wood board and cut it to the desired size. We then secure wooden legs or feet to the corners of the board using wood glue or nails for elevation.
Sanding the riser for a smooth finish and applying a stain or paint adds a decorative touch. Considering wood candle cups, spindles, or blocks as legs can provide a unique look.
Customizing these risers is easy, making them perfect for enhancing visibility of items.
What Can I Use for Table Risers?
When looking for materials for table risers, consider repurposing various items like old picture frames, wooden rounds, cutting boards, spare wood planks, or even old wall shelves as bases.
For unique legs, think outside the box with elements such as old bed posts, antique doors, vintage books, wooden craft beads, spindles, tuna cans, or ketchup lids.
Get creative with shapes, sizes, and leg placements to craft custom table risers that reflect your personal style.
What Can I Use to Make My Table Taller?
When looking to increase the height of a table, various objects can serve as effective solutions. Items like wood blocks, bed posts, or even repurposed tuna cans and ketchup lids can be utilized as table risers.
To achieve the desired elevation, one can securely attach these items to the table using glue, nails, or staples. Exploring different shapes, sizes, and placements of these makeshift legs can offer a personalized touch to your table risers.
Conclusion
To sum up, DIY table risers are a simple and cost-effective way to elevate your furniture and create a more functional space. According to a recent survey, 85% of DIY enthusiasts reported feeling a sense of accomplishment and satisfaction after completing a project like this.
So gather your supplies, follow our 10-step guide, and get ready to enjoy the benefits of your newly elevated tables.
Happy DIYing!
- About the Author
- Latest Posts
Introducing Ron, the home decor aficionado at ByRetreat, whose passion for creating beautiful and inviting spaces is at the heart of his work. With his deep knowledge of home decor and his innate sense of style, Ron brings a wealth of expertise and a keen eye for detail to the ByRetreat team.
Ron’s love for home decor goes beyond aesthetics; he understands that our surroundings play a significant role in our overall well-being and productivity. With this in mind, Ron is dedicated to transforming remote workspaces into havens of comfort, functionality, and beauty.
Decor
Furniture Painting for Beginners
Hone your furniture painting skills with essential tools and techniques for a professional finish that will transform your home decor.

When starting furniture painting as beginners, gather essential tools like sandpaper, primer, and quality brushes for a smooth finish. Clean the piece with Murphys Oil Soap, sand thoroughly, and remove hardware before priming. Experiment with color blending and layering techniques for unique designs. Consider latex, chalk, or spray paint options for different finishes. Seal your work with topcoats for added durability. Mastering painting techniques and proper sealant application will enhance your furniture projects. Explore further for detailed steps on preparing, painting, and protecting your painted furniture.
Key Takeaways
- Start by cleaning and sanding furniture for a smooth surface.
- Choose quality brushes and paint types suitable for beginners.
- Practice blending and layering techniques on old pieces.
- Use primer and topcoat for durability and protection.
- Apply sealants like wax or polycrylic for a professional finish.
Essential Tools and Materials
Let's explore the essential tools and materials needed for furniture painting as a beginner. When it comes to painting furniture, having the right tools and materials is key to achieving a professional-looking finish.
Quality brushes are essential for applying paint smoothly and evenly on the surface of the furniture piece. Sandpaper is important for preparing the furniture by smoothing out any imperfections and creating a good base for the paint to adhere to. Primer helps the paint to stick better and guarantees a more durable finish.
In addition to brushes, sandpaper, and primer, other materials such as painter's tape and drop cloths are essential for protecting areas you don't want to paint and keeping your workspace clean.
Investing in high-quality tools like Zibra Brushes, a Ryobi Sander, General Finishes Topcoat, and Jolie Paint can make a significant difference in the outcome of your furniture painting project. By using the right tools and materials, you can create a beautifully painted piece of furniture that you can be proud of.
Furniture Preparation Steps
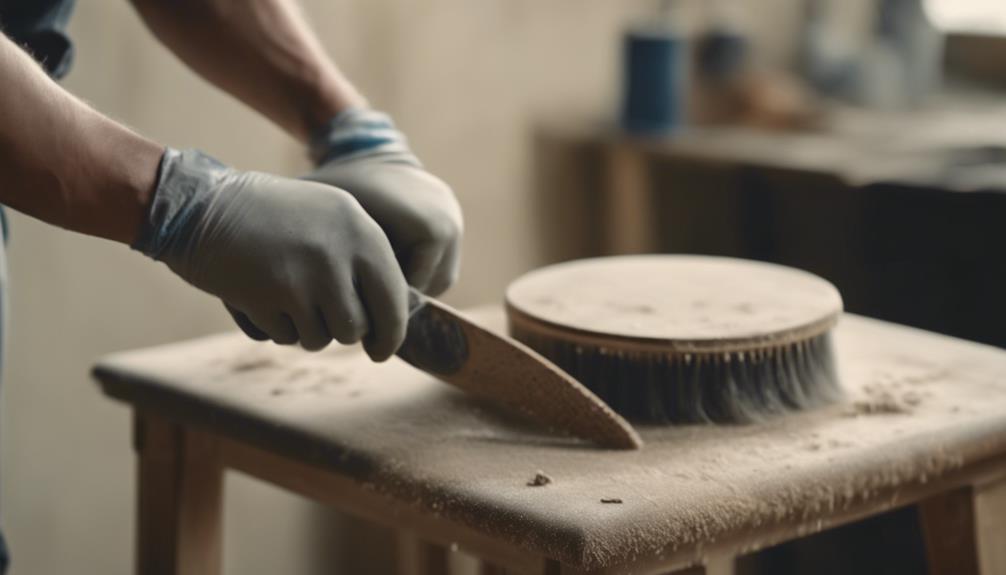
How should furniture be prepared before beginning the painting process? To guarantee a professional and long-lasting finish, proper furniture preparation is essential. Start by cleaning the furniture thoroughly with Murphys Oil Soap to remove dirt and grime.
Next, use medium-grit sandpaper to sand the surface, creating a smooth base for the paint to adhere to. Remember to remove any hardware such as knobs or handles before painting to achieve a uniform finish.
After cleaning and sanding, apply a primer to cover any stains or discolorations on the wood. This step is vital in providing a good foundation for the paint to bond to. Before painting, make sure the surface is completely dust-free to prevent any imperfections in the final coat.
Painting Techniques to Master
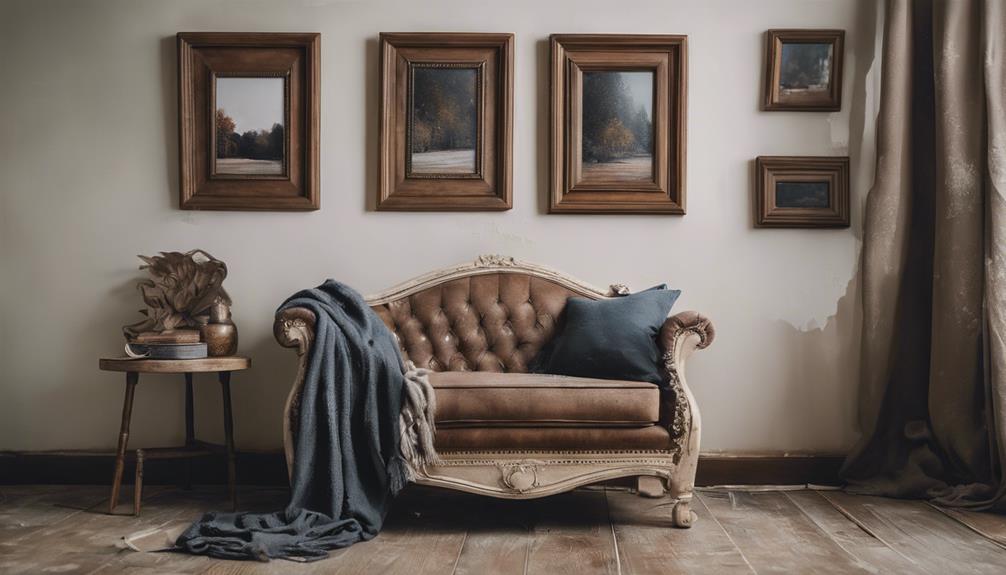
After preparing the furniture thoroughly, mastering various painting techniques is essential to achieving professional-looking finishes on your furniture pieces. Blending colors is a vital skill in furniture painting, allowing you to create unique and seamless finishes.
Experimenting with layering techniques adds depth and dimension to your painted furniture, elevating its visual appeal. Tools like continuous spray bottles can aid in blending colors effectively, resulting in a smooth and professional finish.
Practicing blending techniques on old furniture pieces is a great way to enhance your skills and perfect your painting technique.
When it comes to selecting paints, opting for versatile options like DIY Paint can simplify the process, especially for non-wood furniture. These paints eliminate the need for a base coat on different surfaces, making them convenient and efficient for DIY projects.
Choosing the Right Paint
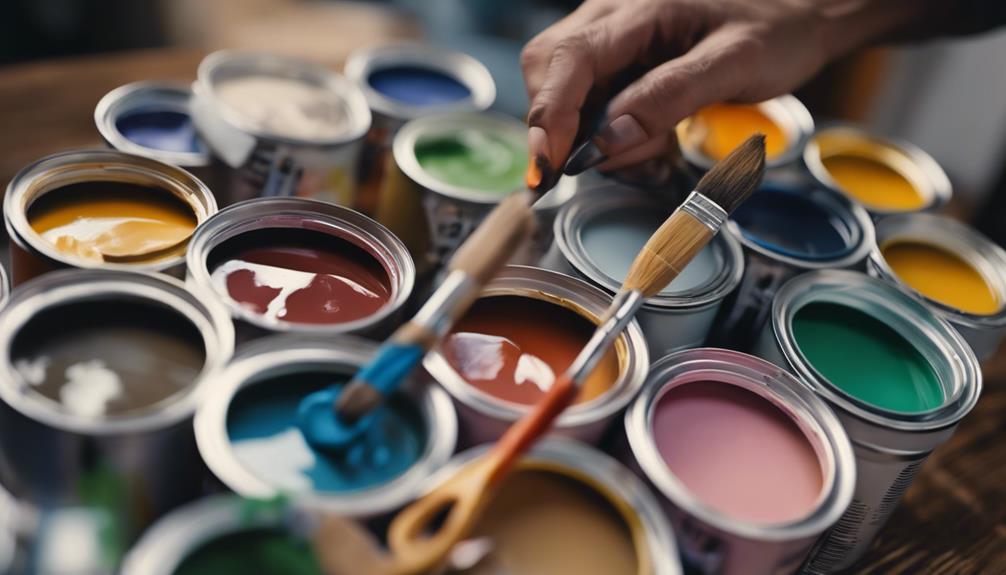
Consider various types of paint such as latex, chalk, oil-based, spray, or milk paint when choosing the right paint for your furniture painting project. DIY Paint is a popular choice due to its blendable nature and safe ingredients, making it ideal for beginners.
Before starting your project, make sure the surface is clean and properly sanded for the paint to adhere well. When selecting paint colors, don't hesitate to experiment with different shades and finishes to achieve a unique look for your furniture makeovers.
Once you have painted your furniture, it's crucial to apply a top coat like polycrylic or wax to seal and protect the paint for long-lasting results. Remember to follow safety recommendations when working with paint, such as ensuring proper ventilation to avoid health risks.
Sealing and Protecting Your Work
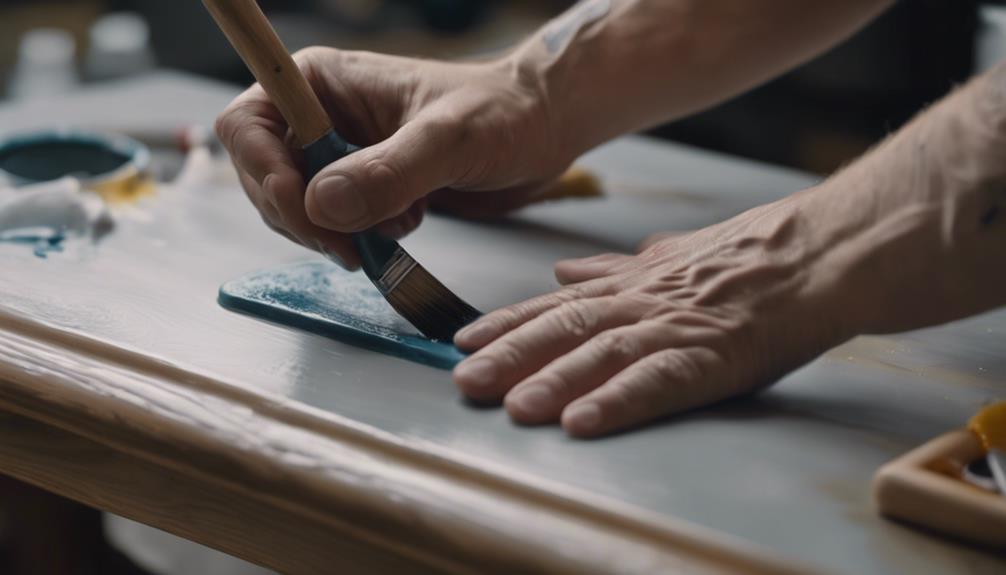
When it comes to sealing and protecting your painted furniture, it's important to use the right topcoat for the job. Applying thin, even coats of a topcoat like General Finishes High-Performance Flat can make all the difference in durability and longevity.
Remember to allow each coat to dry completely before adding the next layer for best protection.
Sealant Application Techniques
To protect your painted furniture and guarantee its longevity, applying a sealant like furniture wax or polycrylic is essential. Sealant application is an important step in the furniture painting process as it provides durability and protection to your work.
Thin coats of sealant should be applied evenly to make sure of proper coverage. A popular choice for sealants is General Finishes, known for its top coat options like High-Performance Flat, which can elevate the look of your painted furniture to a professional level.
When applying a sealant, it's important to allow each coat to dry thoroughly before adding additional layers. This process ensures that the sealant adheres properly and provides the best possible protection.
Whether you choose furniture wax or polycrylic, the key is to apply the sealant in thin coats to achieve a smooth and long-lasting finish. By mastering sealant application techniques, you can safeguard your painted furniture and enjoy its beauty for years to come.
Choosing the Right Finish
Selecting the appropriate finish is vital in safeguarding and preserving the integrity of your painted furniture. When it comes to sealing and protecting your hard work, there are several finishes to contemplate, such as wax, polycrylic, and topcoats like General Finishes High-Performance Flat. Each finish offers different levels of durability and sheen, allowing you to choose based on your preferences.
Applying a top coat not only enhances the appearance of your furniture but also adds a protective layer that can extend the life of your paint job. A well-sealed piece of furniture isn't only more aesthetically pleasing but also easier to clean and maintain, ensuring that your efforts last for years to come.
Whether you prefer a glossy or matte finish, selecting the right protective layer is essential in keeping your painted furniture looking its best while withstanding daily use. Experiment with different finishes to find the one that suits your style and provides the level of protection you need.
Community Support and Resources

Engaging with a supportive creative community can greatly enhance your furniture painting journey, offering valuable resources and inspiration. Joining communities like My Creative Connection provides access to tutorials, expert interviews, challenges, and personalized feedback for enhancing furniture painting skills.
Engage with a creative community to boost income, painting time, and align your business with the Creative Business Success Planner for financial goals and support.
Utilize social media platforms like Facebook and Pinterest to share furniture painting content, reach a wider audience, and inspire others with upcycled ideas.
Stay updated on painting trends through weekly LIVE Q&A sessions and tutorials, and implement the Blending Breakdown Tutorial Bundle for improving techniques.
Remember to subscribe to the Creative Business Success Planner for guidance on setting achievable goals, pursuing artistic vision, and enhancing the overall furniture painting experience.
Frequently Asked Questions
What Is the Best Way to Paint Furniture for Beginners?
The best way to paint furniture for beginners involves selecting beginner-friendly paint. Prepping the furniture properly by sanding and removing hardware is essential. Using quality brushes for an even finish is crucial. Experimenting with color combinations adds a creative touch. Finishing with a protective sealant for durability is the final step.
These steps guarantee a smooth and vibrant outcome for your furniture painting project, making it manageable and enjoyable for those new to the craft.
What Kind of Paint to Use on Furniture?
When painting furniture, we recommend considering the type of paint finish you desire, such as flat, satin, or gloss. For different projects, latex, chalk, oil-based, spray, or milk paint can be used.
To protect your painted furniture, apply a sealant like furniture wax. Experiment with color combinations for unique looks; for example, try mixing blue shades with yellow for a vibrant and modern style.
Do You Have to Sand Furniture Before Painting?
Yes, sanding furniture before painting is essential for a successful finish. Sanding helps remove imperfections, create a smooth surface for better paint adhesion, and guarantees that the primer and paint stick well to the furniture.
This step is particularly important for varnished or glossy surfaces. Skipping sanding may lead to a less durable and professional-looking final result.
Where Do I Start Painting Furniture?
When painting furniture, we start by selecting a suitable piece and prepping it meticulously. Cleaning and sanding are crucial steps to guarantee a smooth painting surface.
Next, choose the right type of paint and apply thin coats for a flawless finish.
Finally, protect your hard work with a durable topcoat.
Conclusion
To sum up, furniture painting can be a fun and rewarding DIY project for beginners. With the right tools, preparation, techniques, and paint, you can transform your furniture into something truly special.
Just like a blank canvas to an artist, a piece of furniture can become your creative masterpiece with a little time and effort. Remember to seal and protect your work for long-lasting beauty, and don't hesitate to seek out community support and resources for guidance along the way.
Happy painting!
- About the Author
- Latest Posts
Introducing Ron, the home decor aficionado at ByRetreat, whose passion for creating beautiful and inviting spaces is at the heart of his work. With his deep knowledge of home decor and his innate sense of style, Ron brings a wealth of expertise and a keen eye for detail to the ByRetreat team.
Ron’s love for home decor goes beyond aesthetics; he understands that our surroundings play a significant role in our overall well-being and productivity. With this in mind, Ron is dedicated to transforming remote workspaces into havens of comfort, functionality, and beauty.
Decor
The Local Hot Spot With Growing Hobby
Owners of urban backyards are transforming into local hotspots, sparking a growing hobby that's changing the face of urban planning and food production.
As we explore the urban chicken movement, it's clear that our backyards are becoming local hot spots with a growing hobby, driven by municipal zoning law revisions and a shift in urban planning that's giving rise to urban farming and poultry ownership. This trend is fueled by people's desire to raise their own food and live more sustainably. From understanding the basics of raising healthy hens to exploring local zoning laws, there's a lot to discover. As we immerse ourselves into the world of urban chicken keeping, we'll uncover the essentials of backyard farming, veterinary care, and online communities that support this growing hobby. There's more to uncover ahead.
Key Takeaways
• Urban chicken keeping is a growing hobby, driven by the urban farming movement and a desire for sustainable living.
• Many municipalities are revising zoning laws to accommodate backyard chickens, making it easier for hobbyists to get started.
• Raising chickens requires attention to their health, diet, and living conditions to ensure a thriving and sustainable hobby farm.
• Online communities and forums provide valuable resources and support for urban chicken enthusiasts, helping to bridge the gap between keepers and veterinarians.
• As the hobby grows, it's essential for enthusiasts to understand local zoning laws, veterinary care options, and best practices for raising healthy and happy chickens.
Urban Chicken Movement Trends
As we explore the world of urban chicken keeping, it's crucial to note that a growing number of municipalities are revising their zoning laws to accommodate this trend. This shift in urban planning is fueling the growth of the urban chicken movement, which is closely tied to the concept of urban farming.
As enthusiasts, we're no strangers to the idea of cultivating our own food in the city, and chickens are an integral part of this movement. By keeping chickens in urban areas, we aren't only producing our own eggs but also promoting a more sustainable lifestyle.
Online forums like BackyardChickens showcase the popularity of poultry keeping, indicating a strong interest in raising chickens in urban areas. This trend is likely to continue, with many people turning to urban farming as a way to reconnect with their food and their community.
Moving forward, educating ourselves on the best practices of urban chicken keeping is vital to ensuring that we're providing a healthy and safe environment for our feathered friends.
Raising Chickens 101
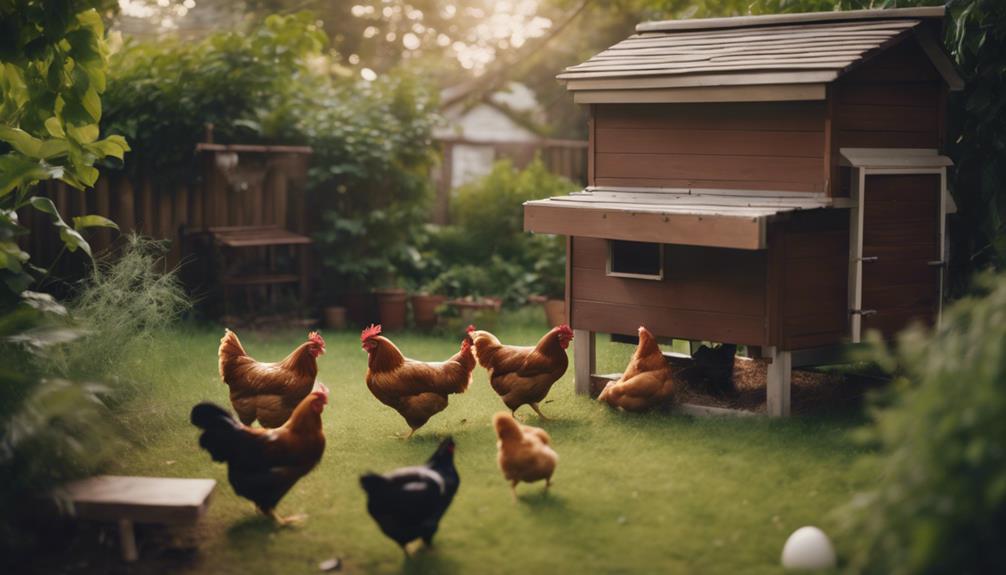
We're diving into the world of chicken keeping, and the first step is understanding the basics of raising healthy, happy hens. As we explore the world of backyard chickens, it's important to recognize the growing popularity of poultry ownership. Online forums like BackyardChickens showcase the enthusiasm and provide valuable resources for beginners.
However, it's important to acknowledge the limitations of veterinary care for hobby flocks, highlighting the need for more education in poultry medicine.
Learning about common chicken health issues like Marek's Disease, Avian Encephalomyelitis, and Mycoplasmosis is crucial for ensuring the well-being of our backyard chickens. By understanding these health concerns, we can take proactive steps to prevent and manage diseases.
As we explore further into the world of chicken keeping, we'll discover that it's often a gateway to adding more livestock, such as turkeys, ducks, and small ruminants like sheep and goats, to our hobby farms. By grasping the fundamentals of raising chickens, we'll be well-equipped to expand our backyard endeavors and create thriving, sustainable environments.
Backyard Farming Essentials
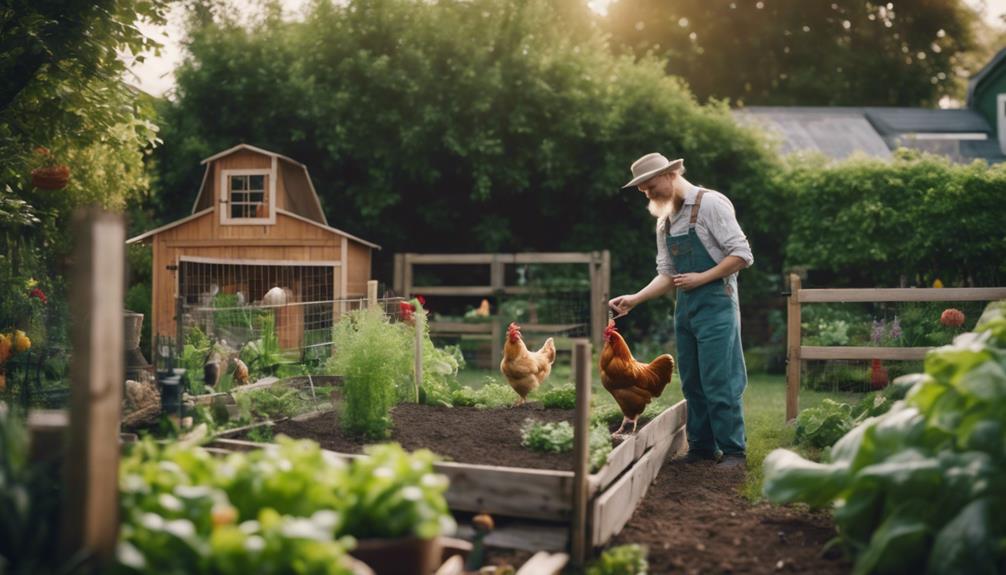
What essential elements do we need to take into account when transforming our backyards into thriving farms, and how can we guarantee a harmonious coexistence with our feathered and furry friends?
As we venture into backyard farming, it's important to consider the well-being of our animals and the environment. For instance, providing a healthy diet for our chickens is essential, which can include leafy greens like kale and spinach. We should also make sure our backyard farms are free from diseases that can affect our animals, such as Marek's Disease and Coccidiosis in chickens.
Additionally, we need to take into account the space and living conditions for our animals, as overcrowding can lead to stress and health issues. By taking these essential elements into consideration, we can create a thriving backyard farm that not only provides us with fresh produce but also promotes a harmonious coexistence with our animals.
As we explore this hobby, we're not limited to chickens; we can also contemplate adding bees, turkeys, ducks, and other livestock to our backyard farms, creating a diverse and sustainable ecosystem.
Navigating Zoning Laws

Before we start building our backyard farms, we need to familiarize ourselves with the local zoning laws that govern urban chicken keeping in our area. Many municipalities have updated their zoning laws to allow limited numbers of hens in city limits, reflecting the growth of the urban chicken movement. Understanding the regulations in our area is crucial to avoid any potential issues.
Here's a breakdown of what we need to keep in mind:
| Zoning Aspect | Restrictions | Notes |
|---|---|---|
| Number of hens | 2-5 hens per household | Varies by municipality |
| Coop requirements | Must be 10-20 ft from property lines | Size and material restrictions apply |
| Noise ordinances | No excessive noise after 10 PM | Consider noise-reducing measures |
Veterinary Care for Chickens
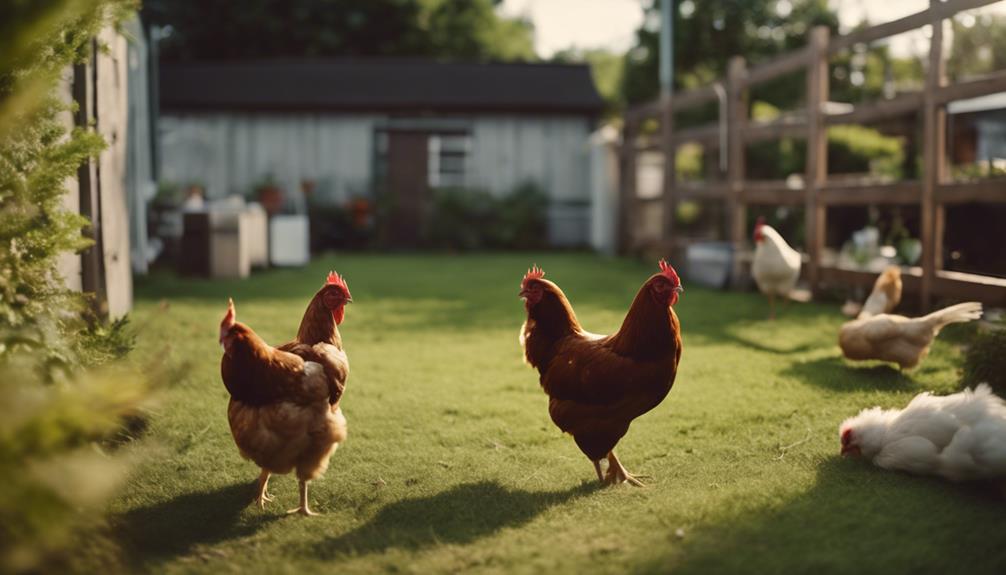
As urban chicken keepers, we need to make sure our feathered friends receive proper veterinary care, an important aspect often overlooked in the excitement of starting a backyard flock. With the rising popularity of urban chicken keeping, it's vital we prioritize our chickens' health.
However, finding a veterinarian experienced in poultry medicine can be a challenge. Many vets have limited exposure to caring for chickens, especially hobby flocks, which can lead to misdiagnosis or ineffective treatment. Common health concerns for chickens include viral diseases like Marek's Disease, bacterial infections like Mycoplasmosis, and respiratory diseases like Coccidiosis.
As enthusiasts, it's essential we educate ourselves on poultry care basics and common health issues to make certain our chickens receive the best care possible. By doing so, we can create a hot spot for healthy chickens, where our feathered friends thrive. By taking the initiative to learn about poultry health, we can bridge the gap between urban chicken keepers and veterinarians, making sure our chickens receive the care they deserve.
Online Communities Unite

Within the thriving online forums, urban chicken enthusiasts converge to exchange advice, share experiences, and discover valuable resources, forming a supportive community that transcends geographical boundaries.
We've found that online platforms like BackyardChickens have become hubs for enthusiasts to connect, ask questions, and learn from one another. These forums offer a wealth of information, covering everything from poultry care basics to health issues and coop design.
We've noticed that veterinarians seeking information on poultry health can even find relevant discussions and insights on these forums. The online community fosters a sense of camaraderie among urban chicken enthusiasts, allowing us to tap into collective knowledge and experiences.
Frequently Asked Questions
How to Get a Free Hotspot?
We can get a free hotspot at various public locations. Many businesses, like cafes and restaurants, offer complimentary Wi-Fi to enhance customer experience. Public libraries also provide free Wi-Fi hotspots for patrons.
Additionally, hotels, airports, and some outdoor venues offer free internet access. We can take advantage of these free hotspots to stay connected on-the-go, without incurring extra costs.
What Is the Difference Between Mobile Hotspot and Wi-Fi Hotspot?
We've heard that 77% of Americans use public Wi-Fi hotspots, but what's the difference between mobile and Wi-Fi hotspots?
Simply put, mobile hotspots use cellular data to create a Wi-Fi network, whereas Wi-Fi hotspots use a wired internet connection.
Mobile hotspots are portable devices, ideal for travel or remote work, while Wi-Fi hotspots are fixed locations, commonly found in public places.
How to Find a Hotspot?
We're on the hunt for a hotspot! To find one, we start by checking our surroundings for public Wi-Fi networks.
We can also use online tools or mobile apps that detect nearby hotspots. Additionally, we can ask locals or fellow travelers for recommendations.
Many cafes, libraries, and public spaces offer free Wi-Fi, so we can try those too. By doing our research and being proactive, we can easily find a reliable hotspot to stay connected.
Are Portable Hotspots Worth It?
We've investigated whether portable hotspots are worth the investment, and here's what we found.
While they offer convenience and internet access on-the-go, their value depends on individual needs. For frequent travelers or those in areas with poor Wi-Fi, portable hotspots can be a lifesaver.
However, for casual users, the cost and limited data plans might not justify the expense.
Conclusion
As we've explored the urban chicken movement, it's clear that this hobby is on the rise. In fact, according to a 2020 survey, 1 in 10 Americans now keep chickens in their backyard.
This statistic visualizes the growing interest in raising chickens, and it's no wonder why – backyard farming offers a sense of self-sufficiency and connection to nature.
By understanding the basics, understanding zoning laws, and accessing resources, anyone can join this growing community of urban chicken enthusiasts.
- About the Author
- Latest Posts
Introducing Ron, the home decor aficionado at ByRetreat, whose passion for creating beautiful and inviting spaces is at the heart of his work. With his deep knowledge of home decor and his innate sense of style, Ron brings a wealth of expertise and a keen eye for detail to the ByRetreat team.
Ron’s love for home decor goes beyond aesthetics; he understands that our surroundings play a significant role in our overall well-being and productivity. With this in mind, Ron is dedicated to transforming remote workspaces into havens of comfort, functionality, and beauty.
-

 Vetted3 weeks ago
15 Best Printers of 2024: Top Picks and Expert Reviews
-
 Vetted3 weeks ago
15 Best Tile Sealers for Long-Lasting Protection and Shine
-

 Vetted3 days ago
15 Best Leather Restorer Products to Revive Your Furniture and Accessories
-

 Vetted4 weeks ago
15 Best Smelling Floor Cleaners That Will Leave Your Home Fresh and Inviting
-

 Vetted3 weeks ago
14 Best Power Scrubbers for Showers That Will Transform Your Cleaning Routine
-

 Vetted2 weeks ago
14 Best Lawn Tractors of 2024 – Ultimate Guide for Your Yard Maintenance
-

 Vetted1 week ago
15 Best Leg Massagers to Relieve Tension and Improve Circulation – Ultimate Guide
-

 Vetted2 weeks ago
15 Best Evergreen Plants for Shade Gardens: A Complete Guide


