Quick Links
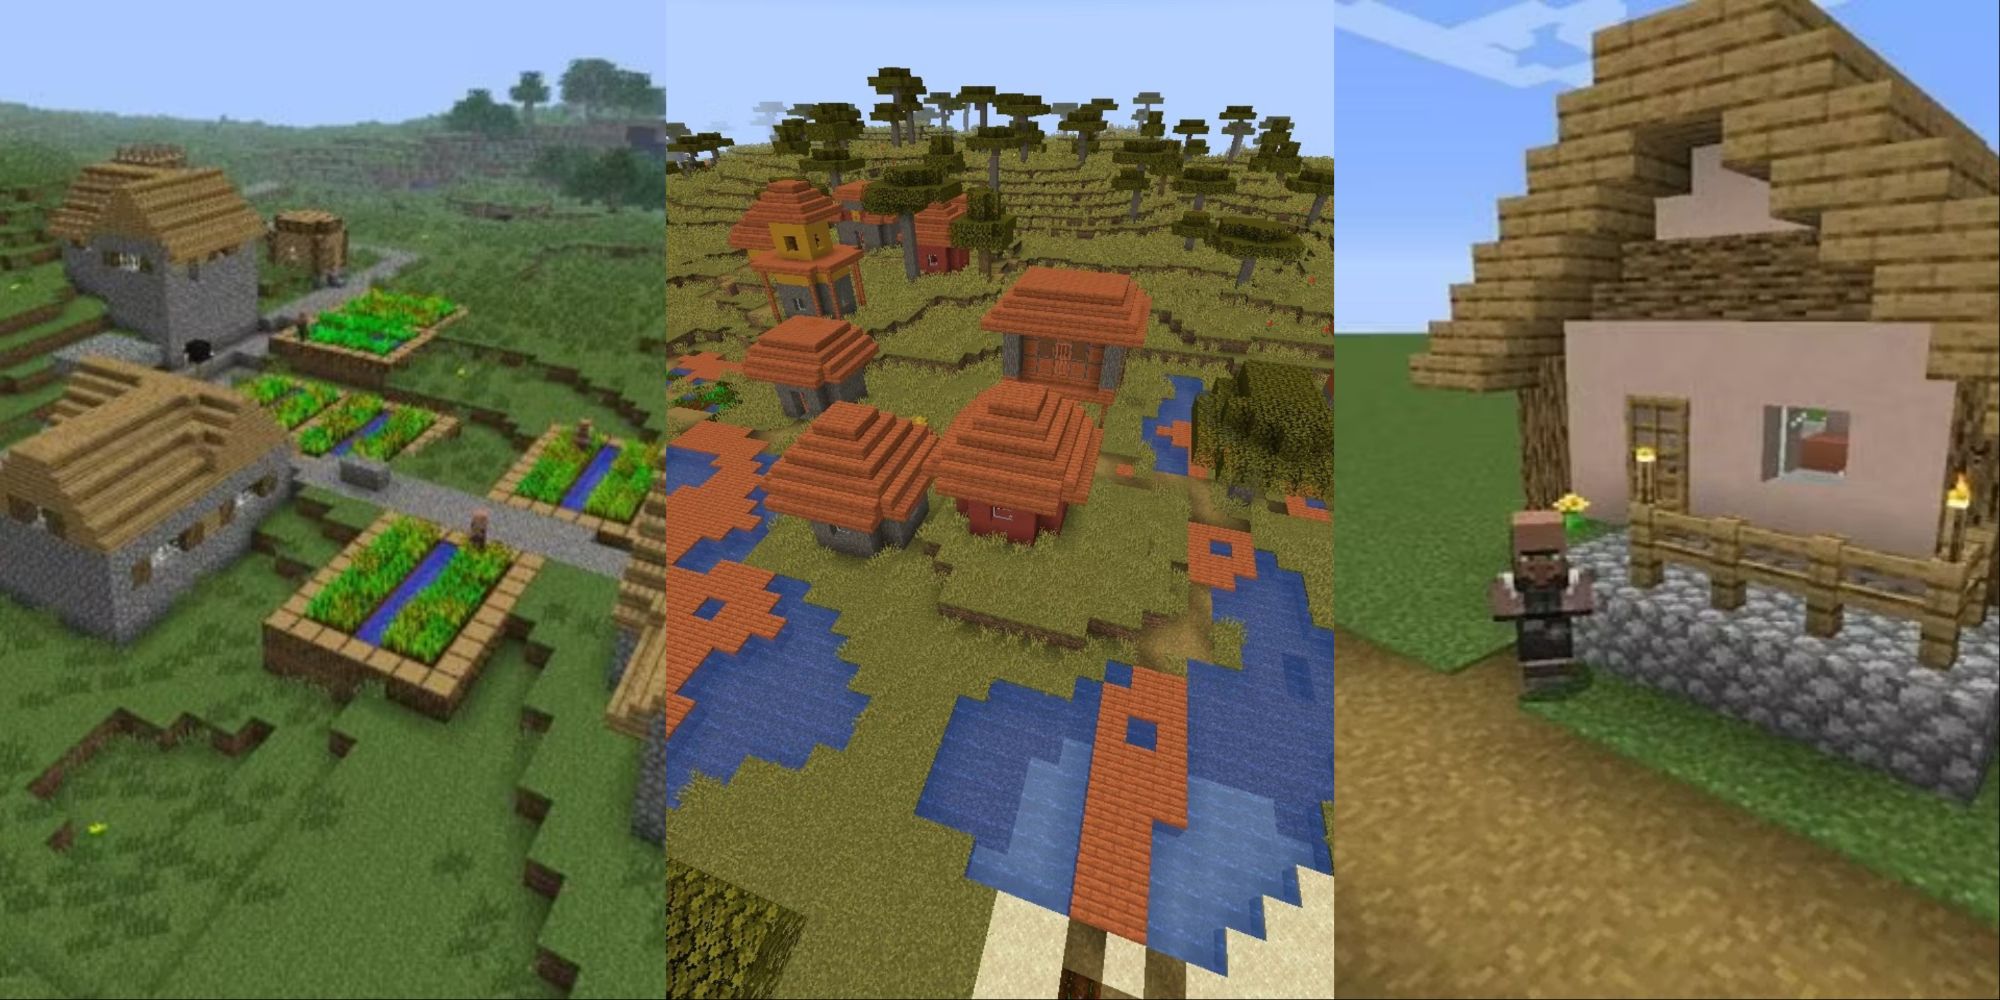
Villages are very useful in Minecraft. The villagers who live here can have all sorts of professions, and you can take advantage of this in order to benefit your playthrough of the game. Building a village in Minecraft is a complex process that can take a lot of time and resources.
11 Best Realistic Minecraft Texture Packs
Texture packs are used in Minecraft to alter the appearance of the world. Here, you can find some of the most realistic packs out there.
It takes quite a bit of effort and determination, especially if you run into trouble, like zombies, creepers, skeletons, and other types of enemies. Our guide will help you through every step of the way and walk you through the lengthy process of making your own village and getting villagers.
Updated May 9, 2024 by Jacqueline Zalace: Dealing with villagers can be one of the most frustrating aspects of Minecraft. We've updated this guide with more information on finding a village, as well as a brief explanation of the villager trading hall, which is a good alternative to a full village.
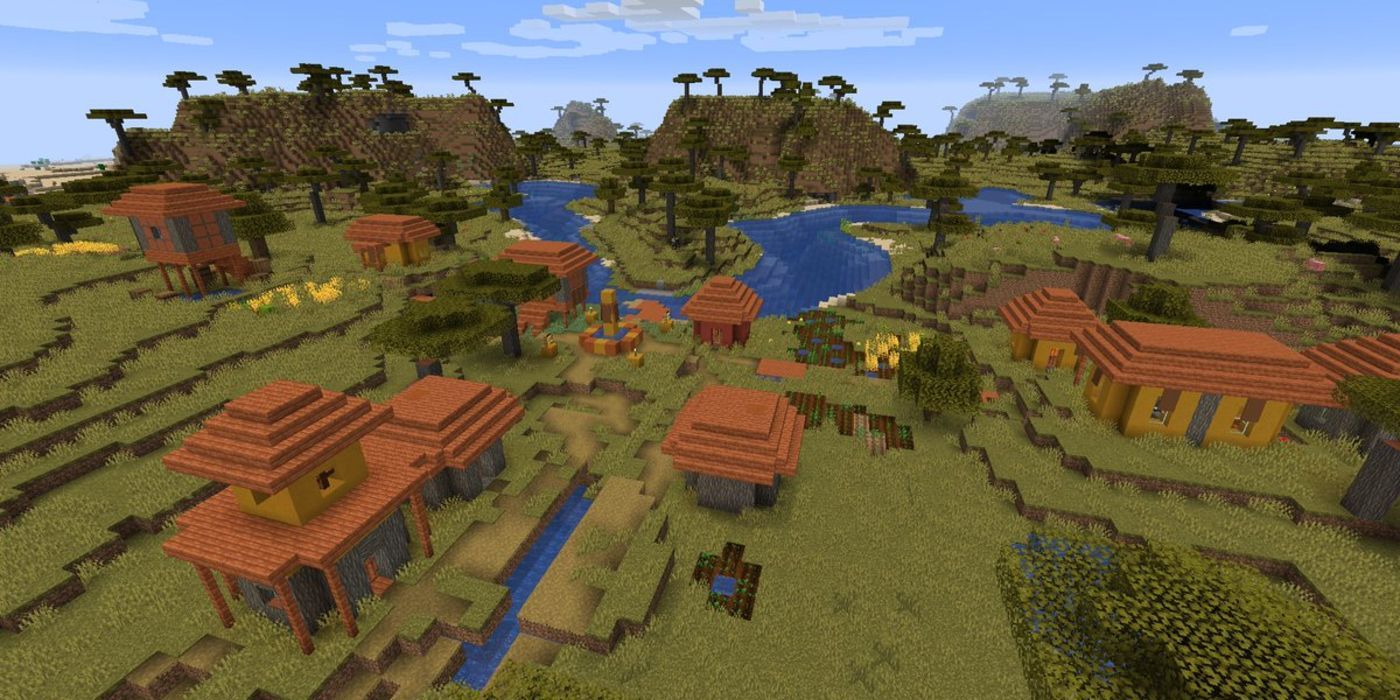
How To Find A Village
There is no guaranteed way to find a village without using a command code or a website that maps out your seed. Instead, you will need to manually find the village in the following biomes.
- Plains
- Meadow
- Desert
- Savanna
- Snowy Plains
- Taiga
- Snowy Taiga (Bedrock only)
- Sunflower Plains (Bedrock only)
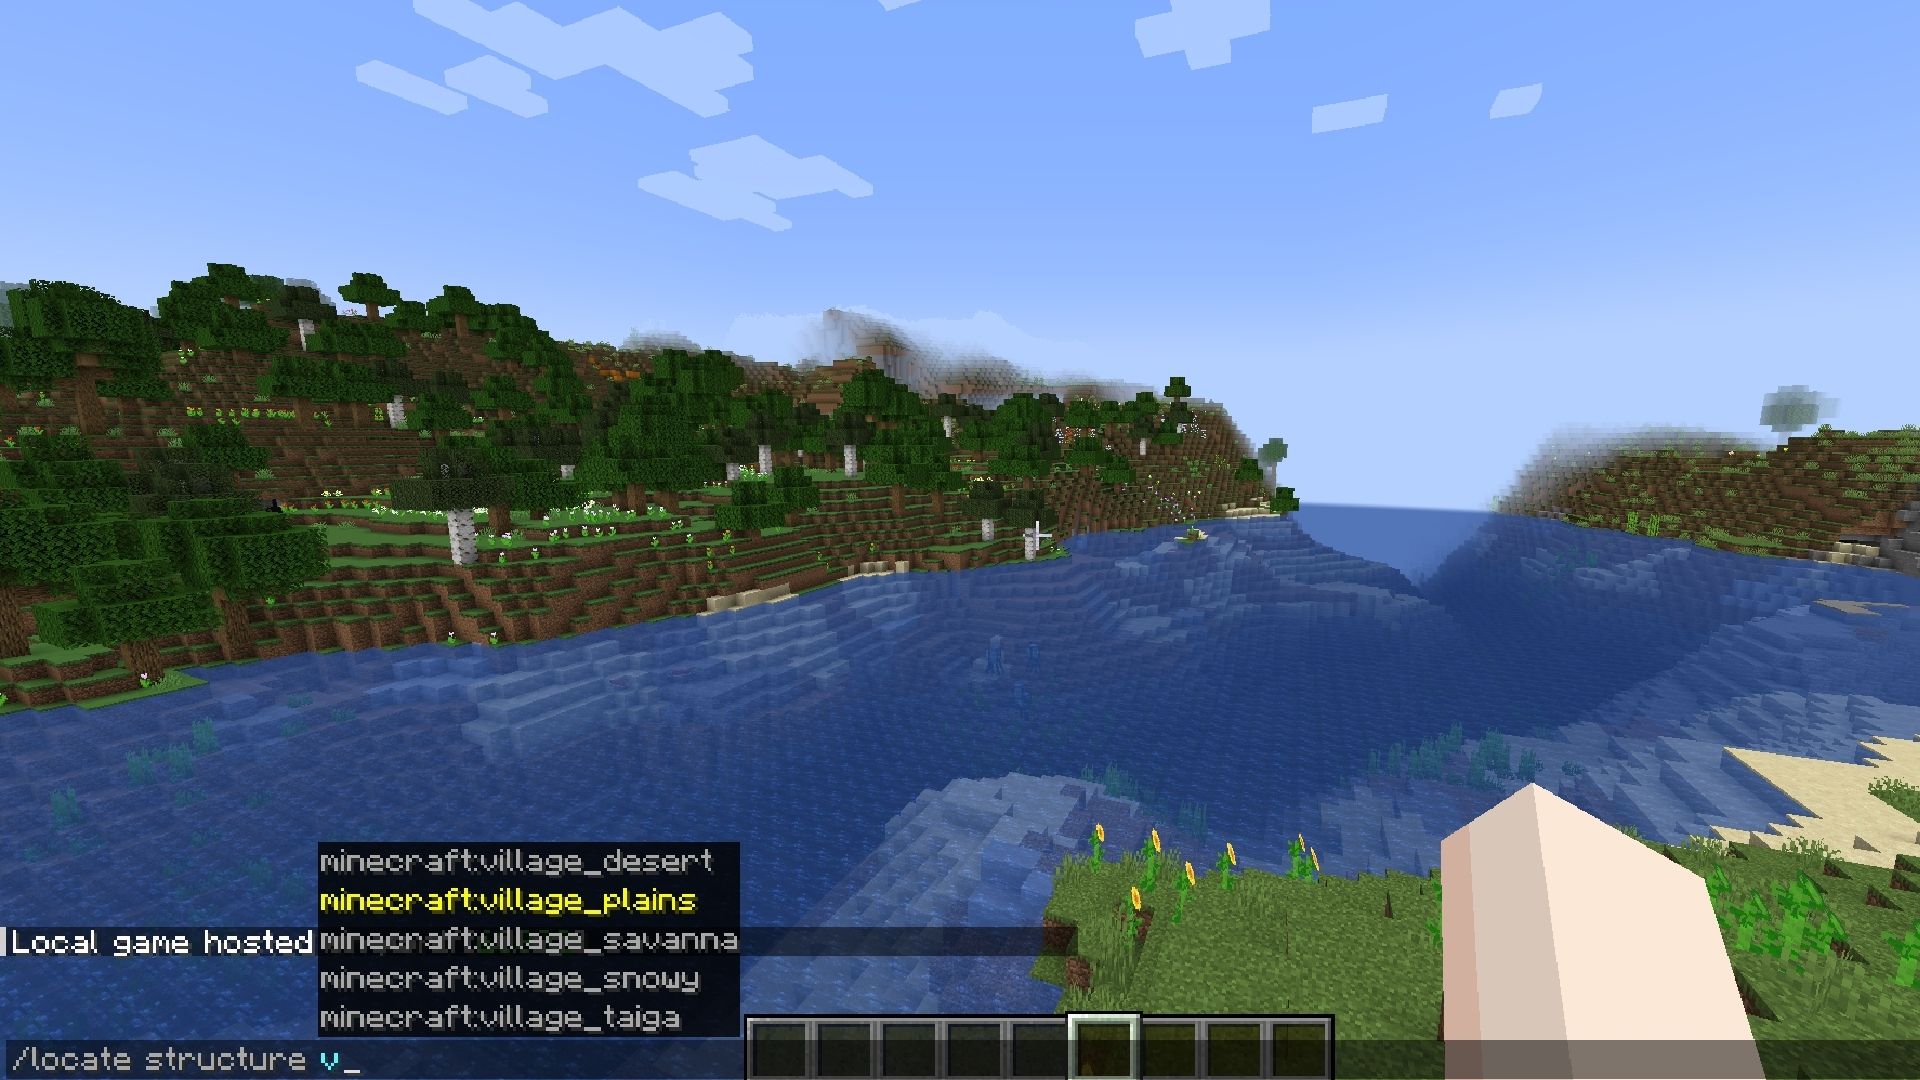
To find a village with a command code, begin typing the following into the command bar.
- /locate structure
From here, you will need to choose a village type, with the following options.
- minecraft:village_desert
- minecraft:village_plains
- minecraft:village_savanna
- minecraft:village_snowy
- minecraft:village_taiga
If you aren't sure which village to pick, try using one from a biome that you are either currently in or nearby. You can also cycle through all of them to see which is the closest.
How To Make Your Own Village
You are also able to make your own village; to make it natural though, you will first need to place down some houses.
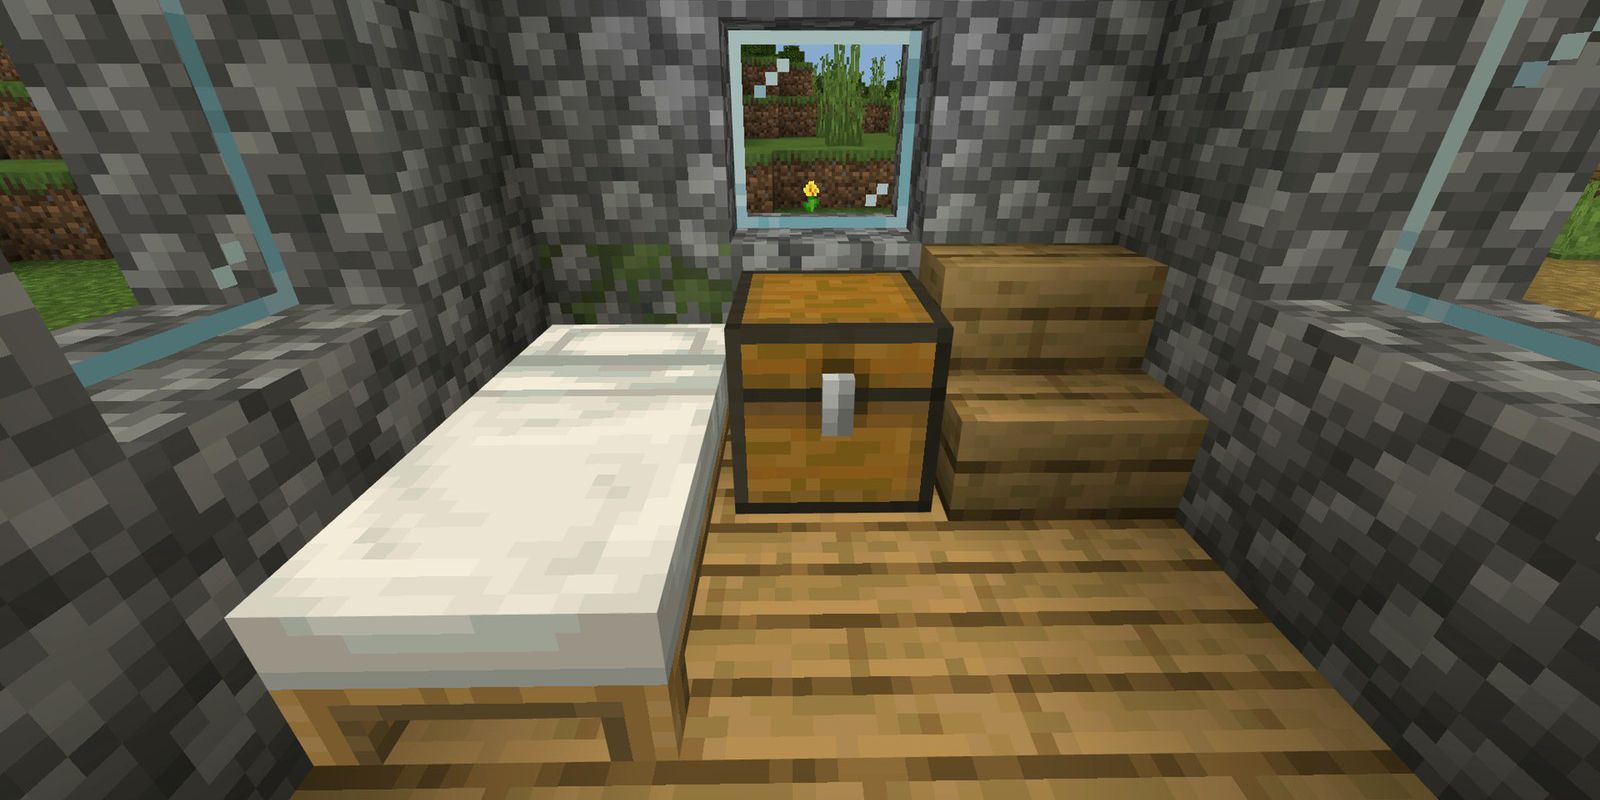
For the game to consider a building to be an actual house, at least one bed has to be placed inside. Of course, you can make bigger houses and place multiple beds inside. It depends on how many villagers you want in your village.
Since villagers will only breed if there are beds for themselves and for the babies, you need to craft and place extra beds in your village. To craft a bed, you just need the following materials.
- 3x Wool (matching colors)
- 3x Plank (any type)
How To Get Your First Villagers
The next step in this process is probably the most complicated one. The first villagers are the hardest to obtain because it all comes down to luck. This is because there are only two ways to get your villagers. You can either do it by curing zombie villagers that spawn near your base or kidnapping villagers that already live in a village.
Next, we are going to talk about both of these villager acquisition methods in detail.
How To Transport Villagers
This process requires the least amount of resources and luck. However, it can be dull and time-consuming. Plus, depending on how distant the nearest village is, you might have to fight off monsters as you take the villager to your base. You might even have to go through the Nether to reduce the distance between your starting location and your destination.
You will only need to transport two villagers, as they will breed more. If you want to speed up the process though, you can kidnap a few more.
Transportation By Water
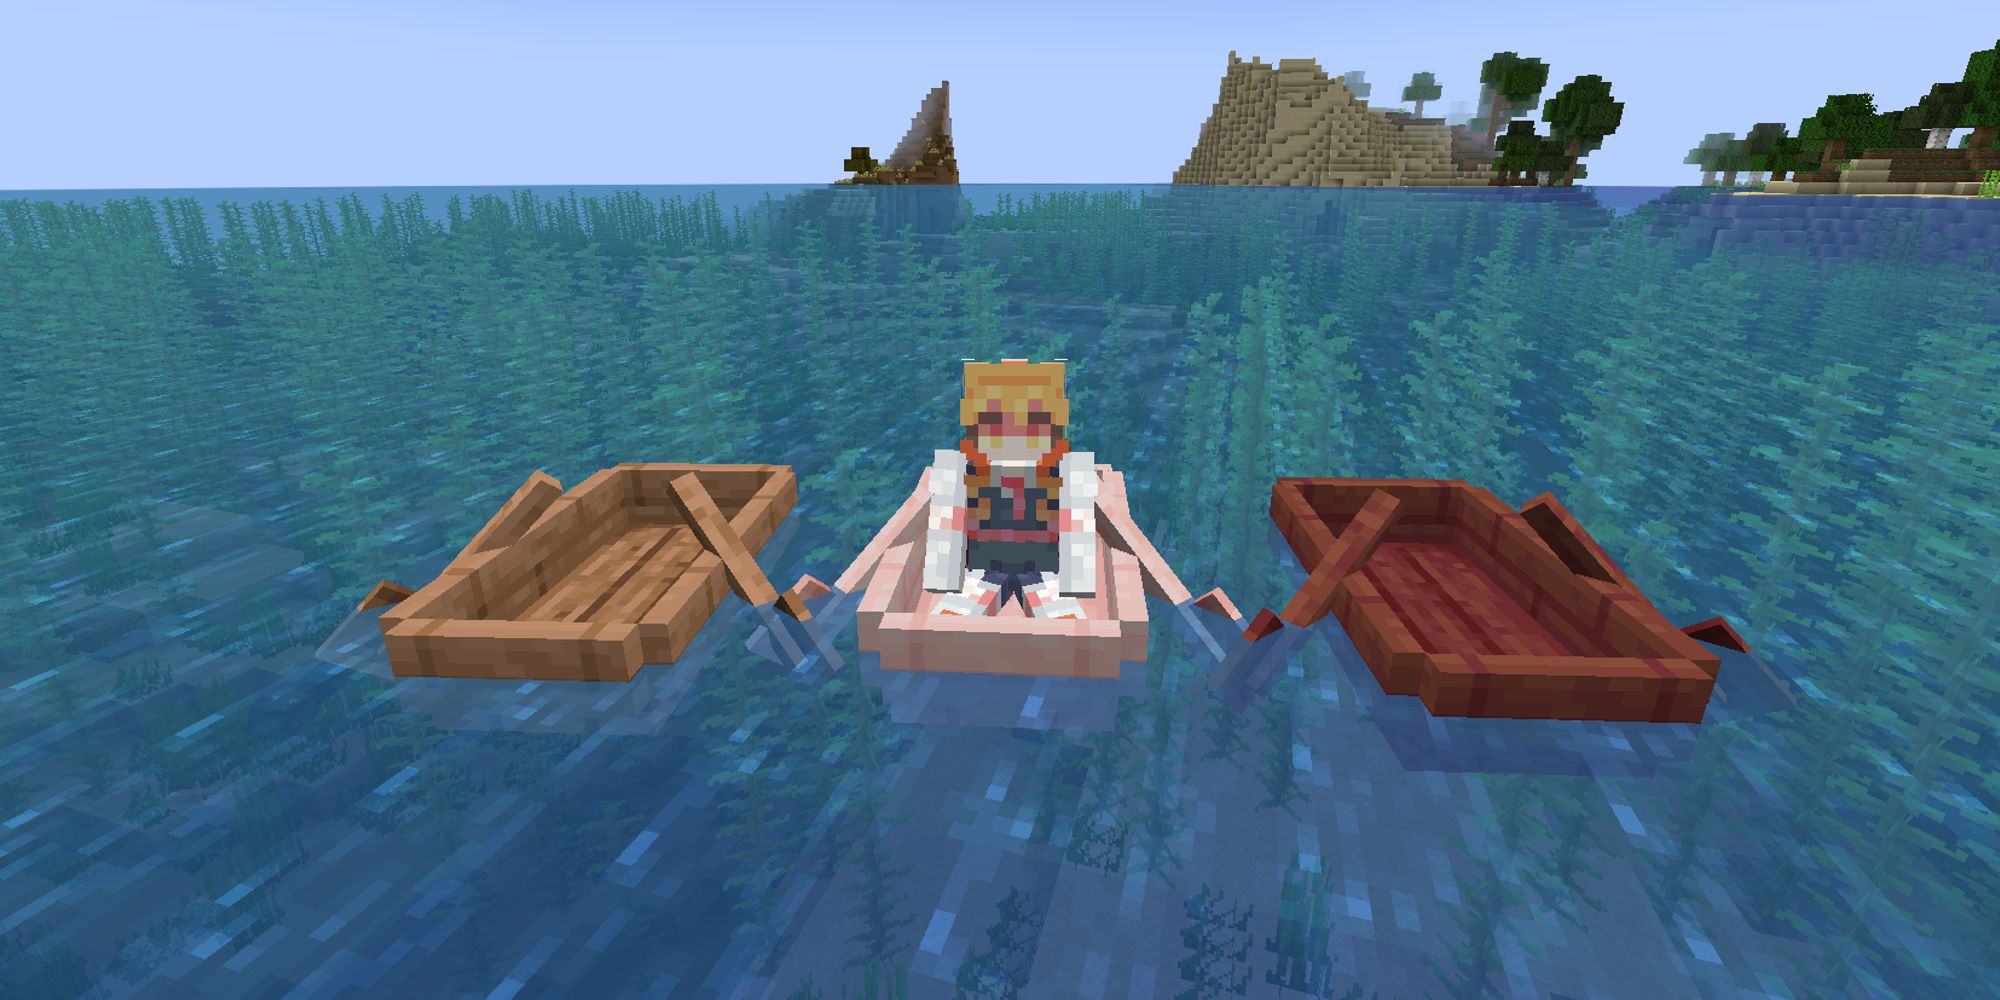
If the village you are targeting is along the water, you can transport the villagers by boat.
You can force villagers into a boat by pushing them or driving the boat into the villager. The villager will not escape unless the boat is broken, so you can travel great distances this way.
Keep in mind that even though boats work on land, they're extremely slow and can only go on flat ground. Even a dirt block that has a path on it can be an obstacle for the simple boat.
Transportation By Land
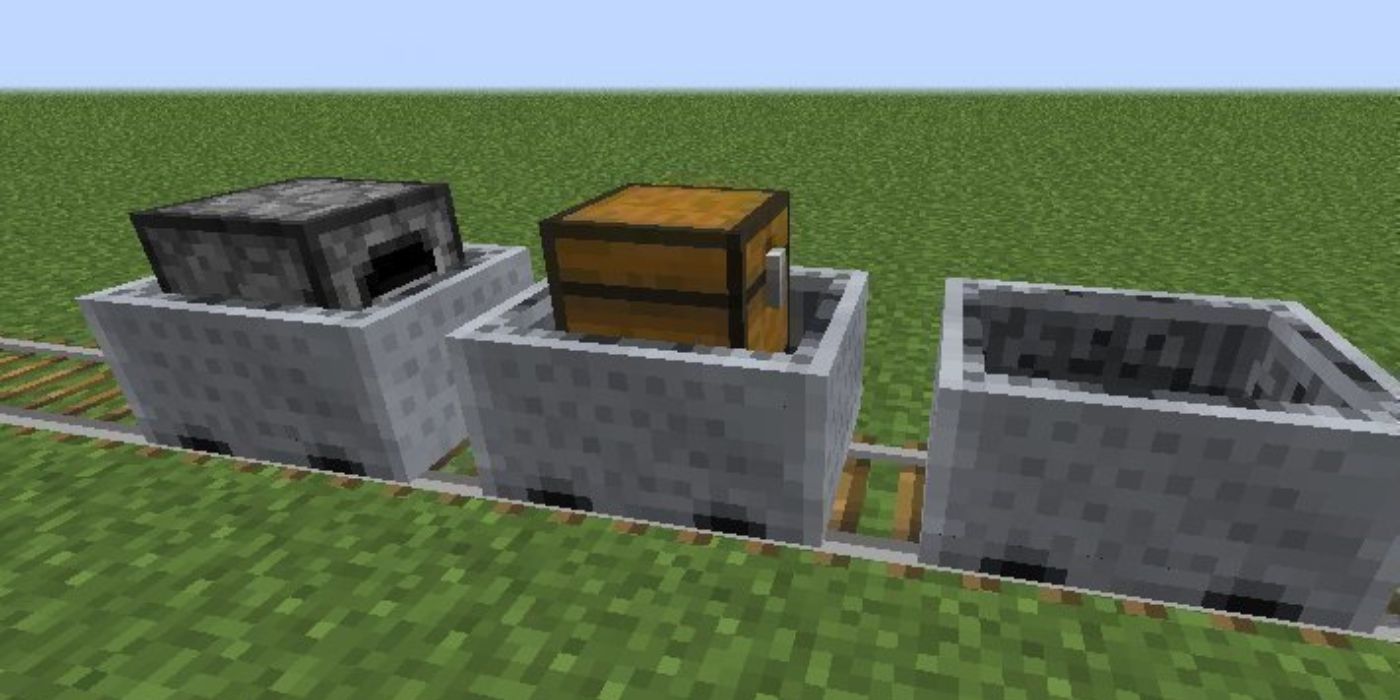
If, on the other hand, you are trying to transport villagers on land, you can use minecarts instead. By pushing a villager into a minecart, they will be stuck similarly to how they are in boats. Now, you just need to lay down some rails and send the villager along the track.
This can be done with redstone and powered rails, but you can also use a minecart with furnace that has a bit of coal in it. When you put coal inside, the furnace will act as an engine, pushing the villager minecart along the track.
Transportation By Nether Shortcut
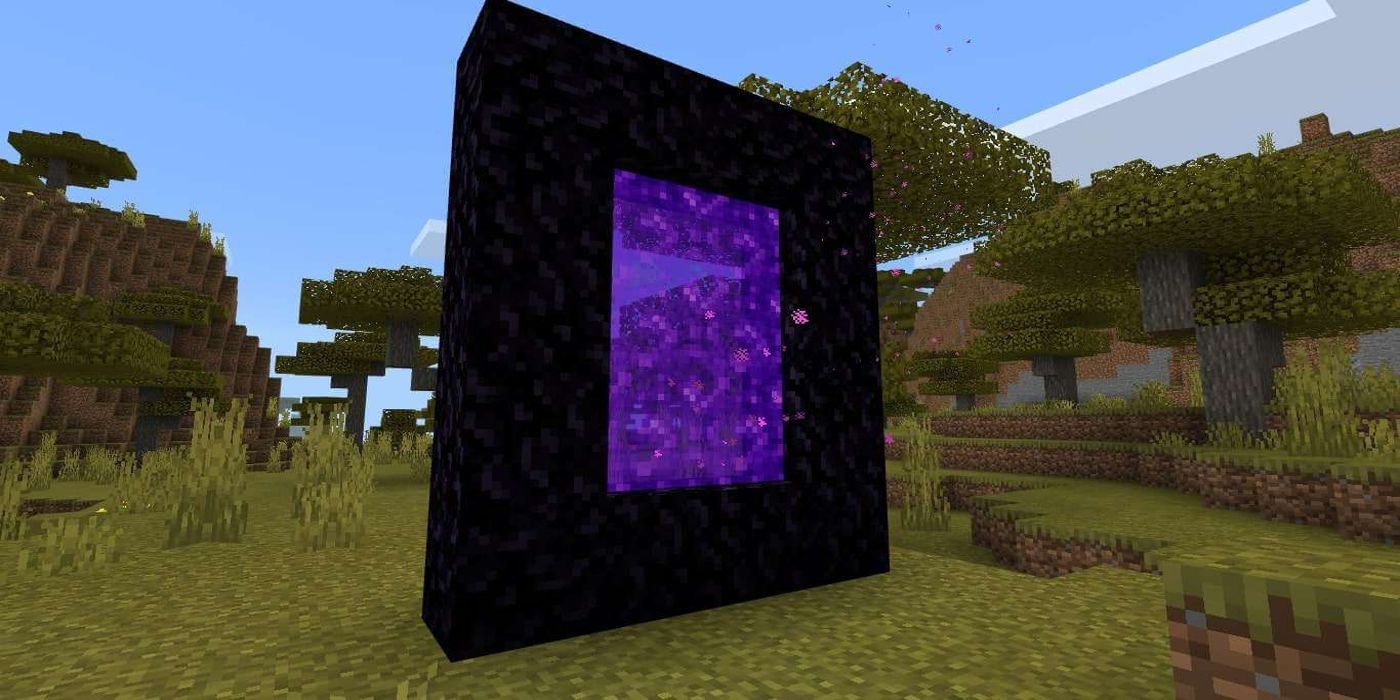
Both of the above methods can be combined with a Nether shortcut. To do this, all you need to do is build a Nether Portal and send your villager through it. If you are using a boat, be sure that the bottom of the portal lines up with the ground, since boats can't go up a block.
Once on the other side, you just need to continue your journey in the direction of your base. Remember, one block in the Nether is equal to eight blocks in the Overworld.
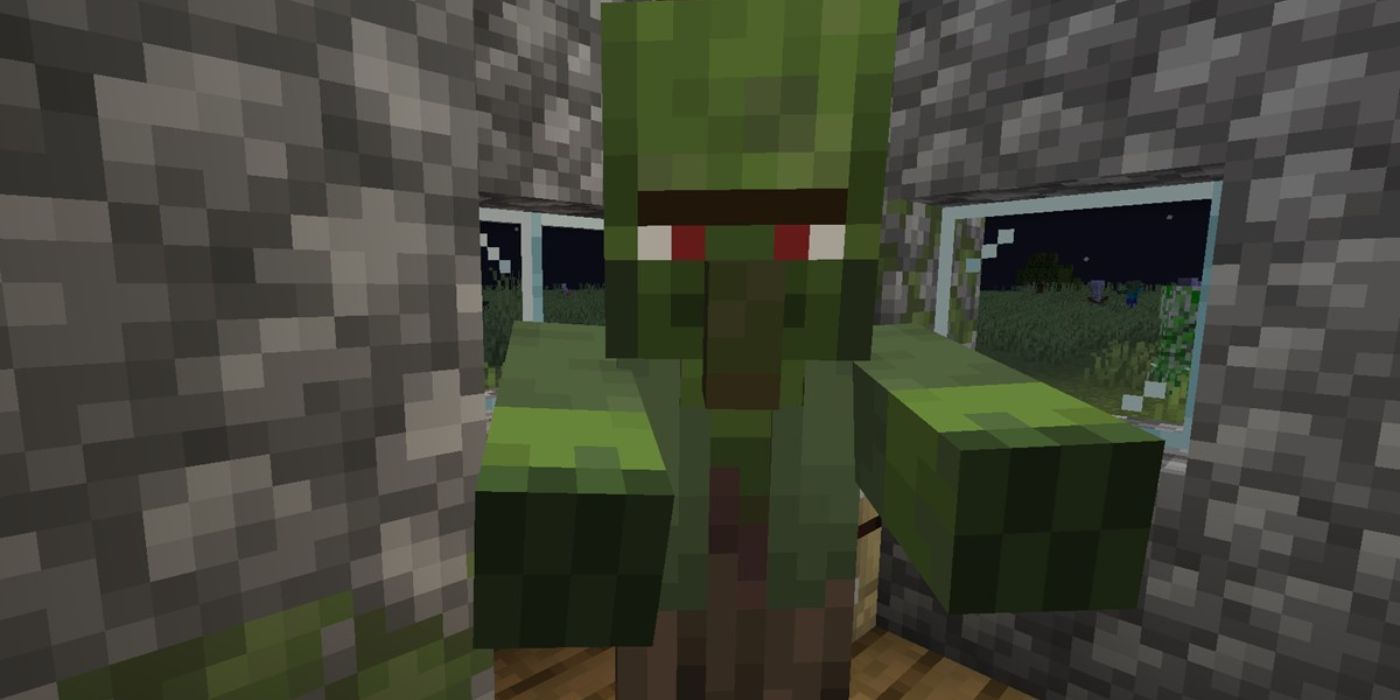
How To Cure A Zombie Villager
Although this method is technically faster, you do need to have a few specific items stored away beforehand. Additionally, zombie villagers will rarely spawn, so you need to be quite lucky for one to spawn so you can then cure it.
Prior to beginning the curing process, you will first need the following items.
- Splash Potion of Weakness
- Golden Apple
From here, use the splash potion and then feed them the Golden Apple while they are under the effects of the potion. After a short period of time, they will transform into a normal villager.
Be sure to do this process under a roof. When it becomes day, any zombie villager under the sun will burn and disappear.
How To Breed Villagers
Villagers will breed whenever they are willing to. Certain conditions must be met for this to happen.
Villagers must have 12 beetroots, 12 carrots, 12 potatoes, or three bread in their inventories to be willing to breed. Only one type of food requirement must be satisfied.
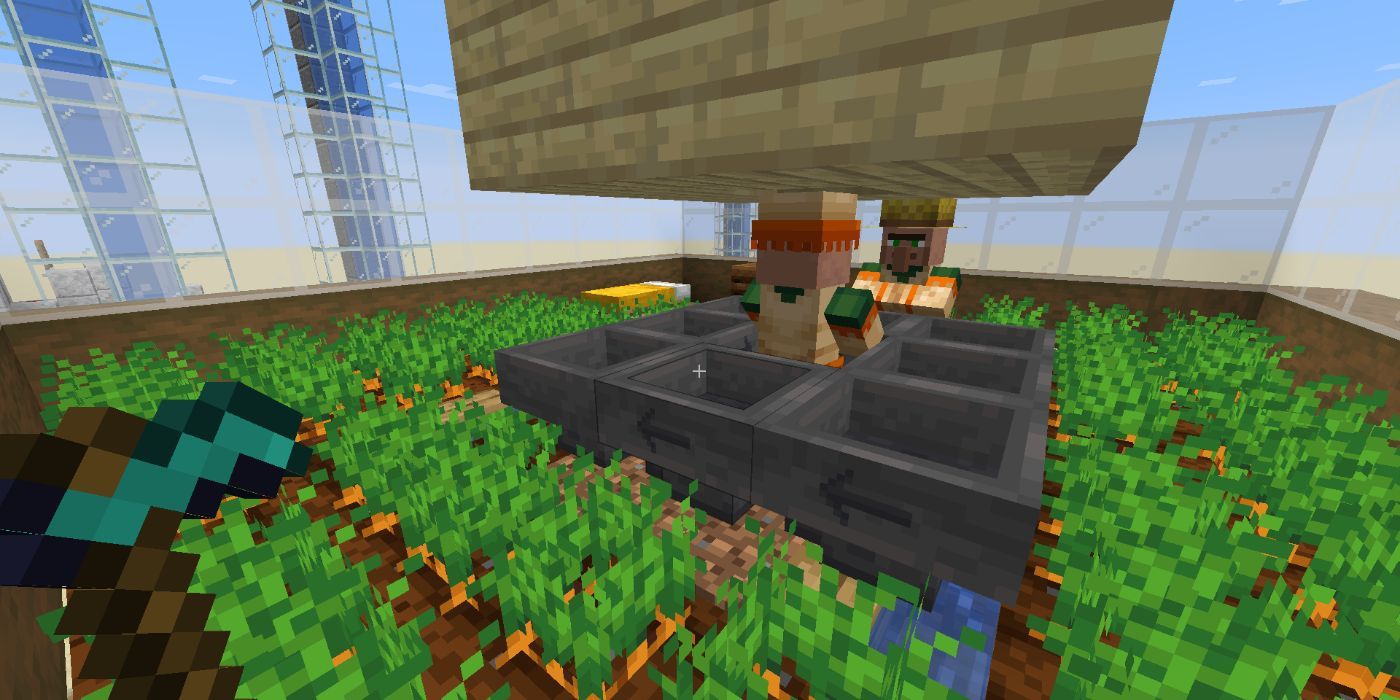
Throw the items at the villagers, and they will pick them up. Alternatively, make Farmers out of your villagers - these will grow, collect, and even share food with their neighbors. Eventually, they will breed and create a baby villager, as long as an accessible bed is nearby.
The more food a villager has, the more likely they are to breed.
To make a village, keep repeating this process with the villagers once they grow into adult villagers. Growth will happen much faster since you won't have to go out and collect more villagers.
Villager Professions
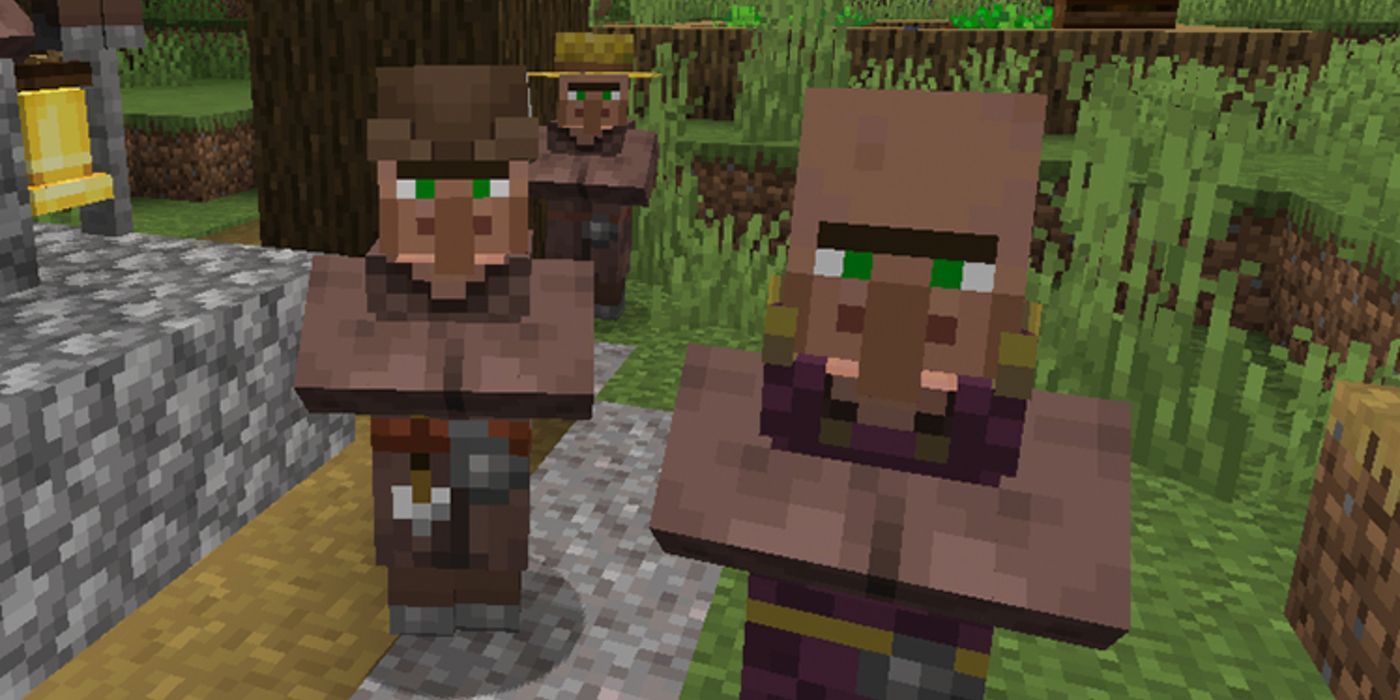
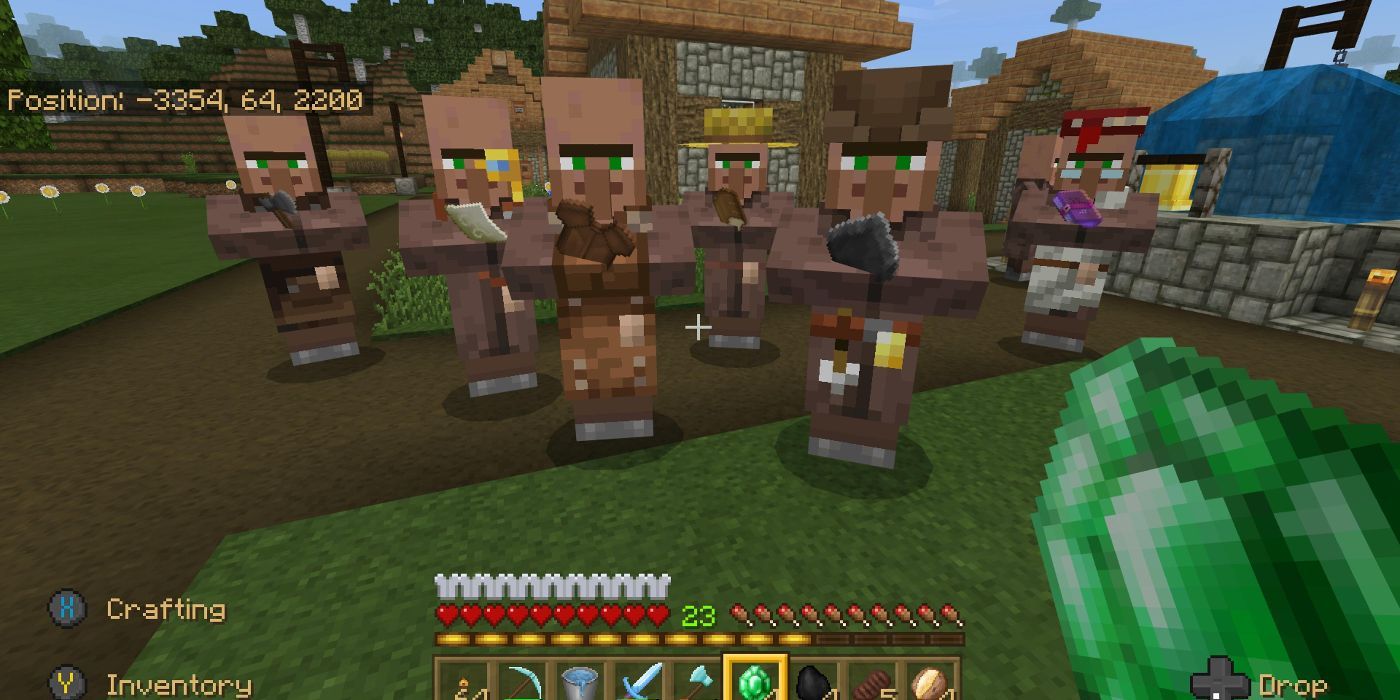
There are 15 types of villagers in Minecraft. Villagers can either be unemployed or nitwit villagers, and then there are 13 different professions. Nitwit villagers can't acquire professions, but unemployed villagers can if they have access to a workstation.
A villager will become employed by claiming a workstation block as their own. Only one villager can claim any individual workstation block. Workstation blocks can only be claimed if they are close enough, within the village's boundaries.
These are all the villager professions in the game, according to their workstation.
According to your needs, you can have any of these villagers. Once you trade with a villager, it won't be able to change professions later, and it will remain locked, so make sure you get the trades you want.
How To Keep Your Villagers Safe
With houses, workstations, and villagers ready to go, it's time to set up your village. Overall, you can decorate your village however you want; let your imagination run wild!
In addition to decorating the area, it's important that you keep your villagers safe. To do so, be sure to enclose your village area with fences or tall walls. This will prevent monsters from entering.
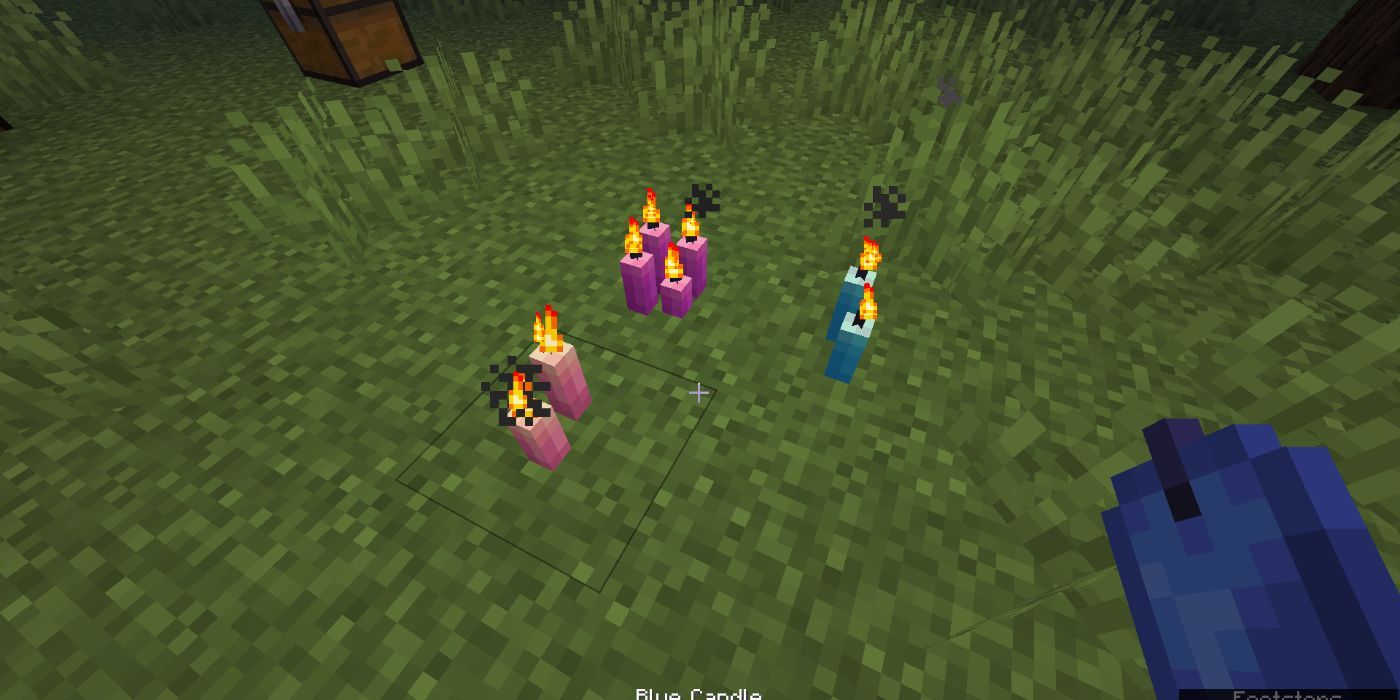
To prevent monsters from spawning inside the village, it's important to keep it well-lit. Monsters will spawn if there is no light present, so you can maintain a dimly lit village with torches, lanterns, candles, and other blocks that give off a glow.
If you aren't sure how safe your village is, try finding a higher area to look down and watch your village. When night falls, take note of any monsters or dark areas that threaten the safety of your village.
If you have an area that is dark, but you don't want to ruin the vibe, consider placing normal or moss carpets and half slabs. Nothing will be able to spawn here, allowing you to have a safe and dark area.
What Is A Villager Trading Hall?
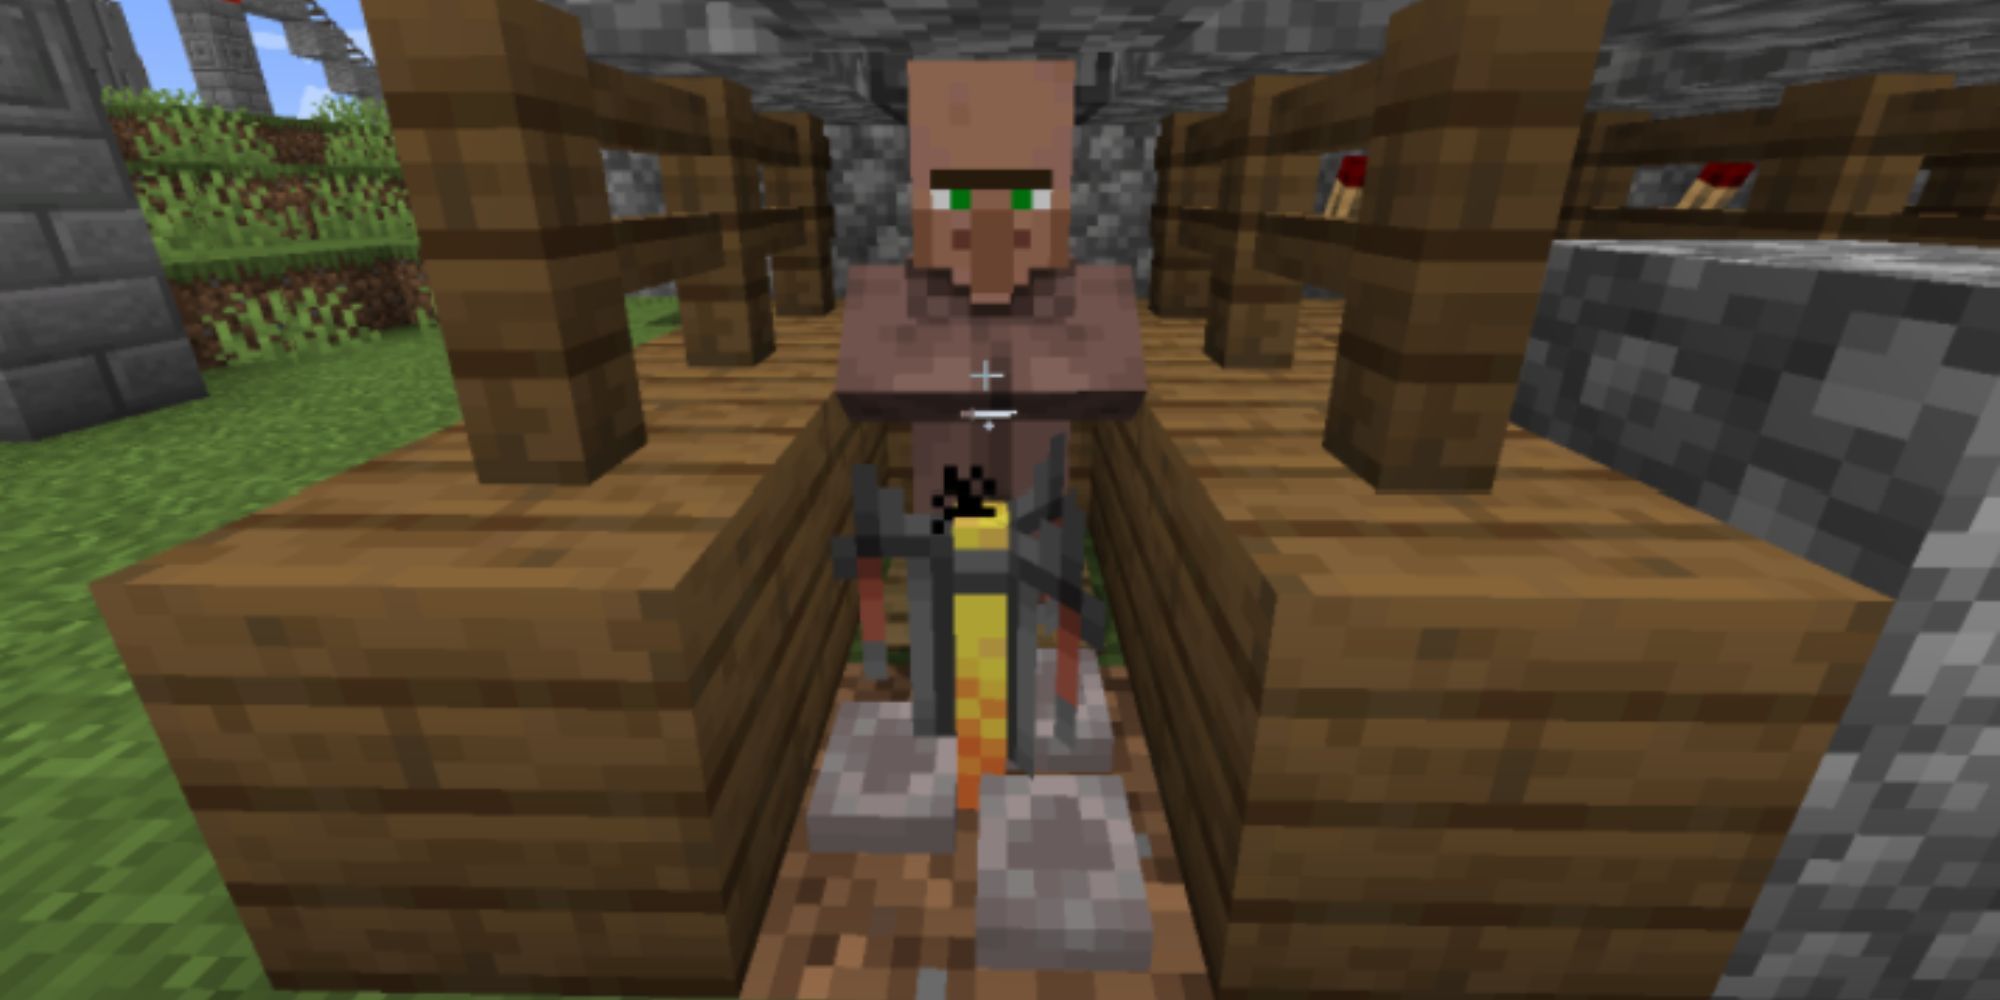
One of the best ways to keep your villagers safe and in one place is to make a villager trading hall. This is essentially a giant room that has all of your villagers in it. Oftentimes, the hall will have 1x1 cubbies for each villager to stand in, along with their job station.
This isn't necessarily a village, and it ends up feeling more like a factory. Still, it's one of the best ways to organize your villagers. With several of one type (such as librarians), you can put signs over their cubby to denote what they trade.
Minecraft: Best Loot in Ancient Cities
From enchanted books to smithing templates, here is the best loot in ancient cities in Minecraft!


